
How-to Photograph Quilts
Whether we like it or not, social media has become the main way of connecting us to other quilters, driving up business and sharing our stories. And a big part of social media is pretty pictures. Yes, great content is still relevant, but without an eye-catching photo, others won’t stop to read your amazing content! Here are some of our tips for getting swoon-worthy Instagram photos!
Use What You Have
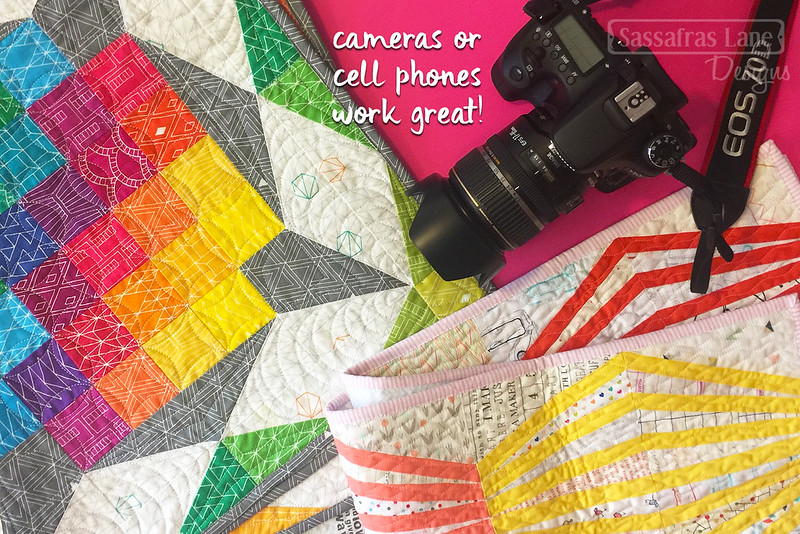
You don’t need a fancy DSLR camera to take beautiful photos! If you have one, awesome, if not, grab your iPhone or point and shoot! Most phones take high-quality photos perfect for posting so don’t go spend a bunch of money (unless, of course, you want to!).

Gather Supplies
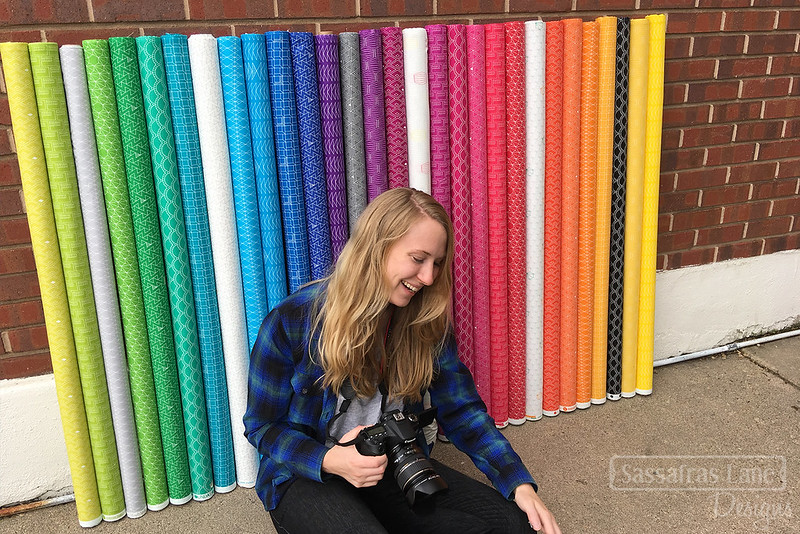
We have a go-bag stocked with everything we may need for a photoshoot! In our bag we have scissors (to trim rogue threads), a lint roller (to clean up any projects), clothes pins and clamps (to attach the quilts to multiple surfaces), a sheet or towel (to drape the quilts on top of dirty surfaces) and double-sided carpet tape (to tape the quilts to walls). You also may need a step stool and props!
Natural Light
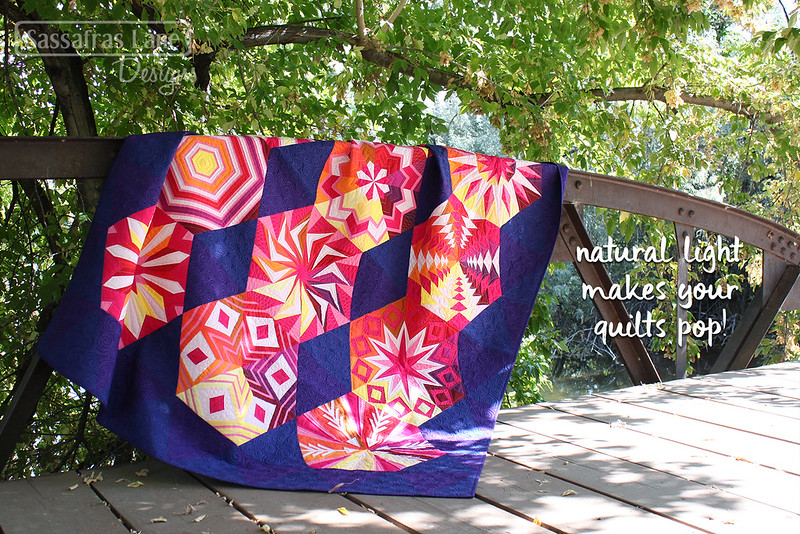
If you don’t take anything else away from this article, remember this one! Natural light is your friend. Take your quilts outside and explore. We shoot tons of photos right around our house and apartment. If it is too cold outside, go by a window! Natural light helps to negate unfortunate shadows and harsh lighting. It also provides more even light across your projects highlighting the quilting and fabrics.
Choosing a Background
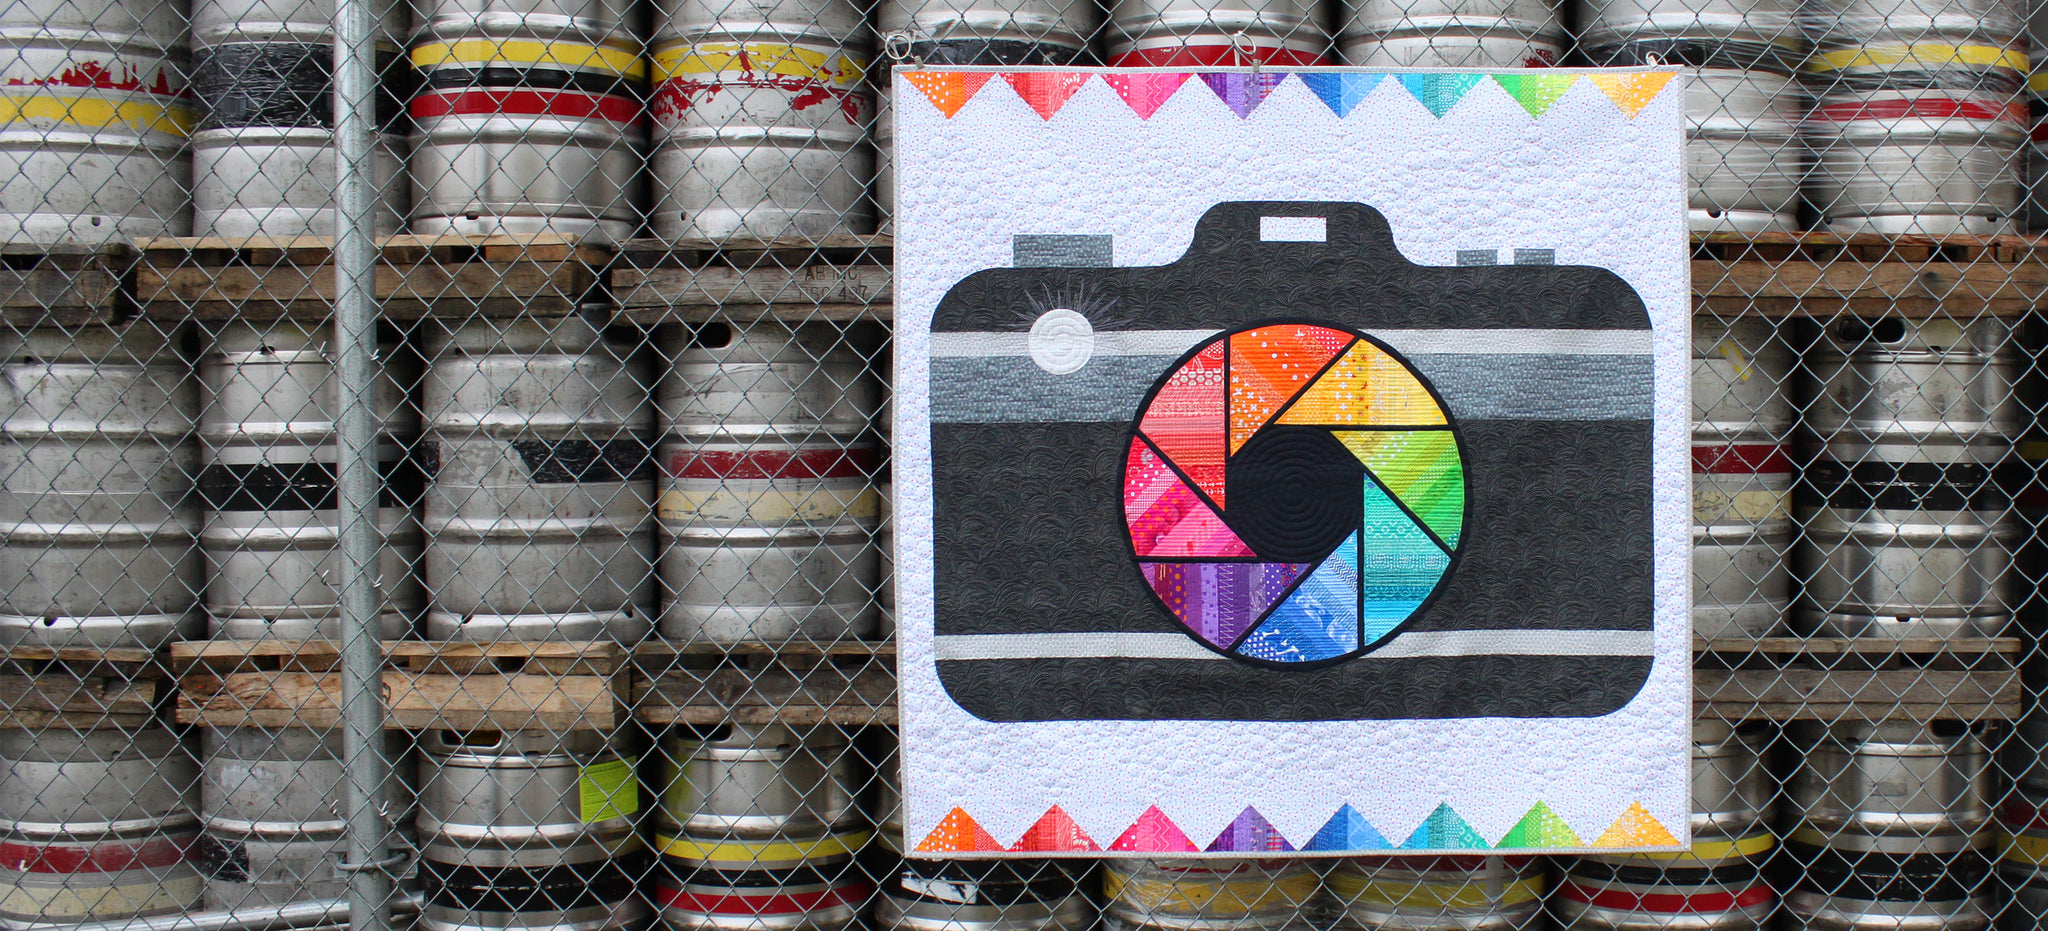
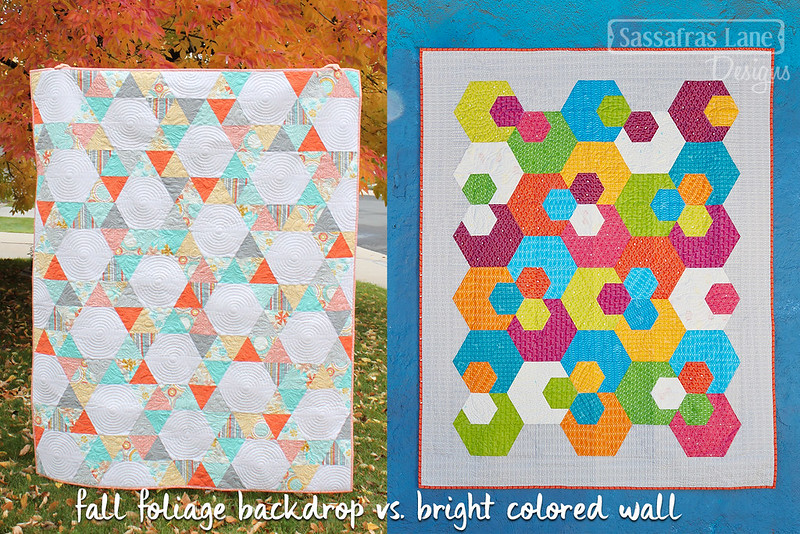
There are countless backgrounds for quilts, especially when you have a buddy who will hold a quilt for you! Sometimes simple backgrounds like brick or wood panel walls make great photos and let the quilts shine, while other times a beautiful landscape or structured cityscape bring a fun element to the photo and draw the eye to the project.

Get Parallel
To take flat shots of your quilts, get parallel to the quilt. Getting parallel will help you avoid trapezoidal quilts. When shooting, look through your viewfinder and observe if the sides of your quilt are straight up and down or angling. Most phones and cameras have guides that help line your quilt up!
Stand Still
The biggest thing I hear over and over is that my photos are blurry. The best way to avoid this is to get a tripod - they are available for both phones and cameras. Another way is to hold your elbows close to your body and the phone near your chest when shooting, take a deep breathe in and take the photo. This is what I do when I've had too much coffee =]

Rule of Thirds
Implement the Rule of Thirds! Your phone and camera have the capability to have a grid laid out over the photos - two lines vertically and two lines horizontally, dividing the images into thirds both ways. Align your subject, in this case, your quilt, up with the guidelines and their intersection points. This allows the linear features in the image to flow from section to section and the viewer's eye to flow through the composition of the quilt, instead of settling directly in the middle of the photo.
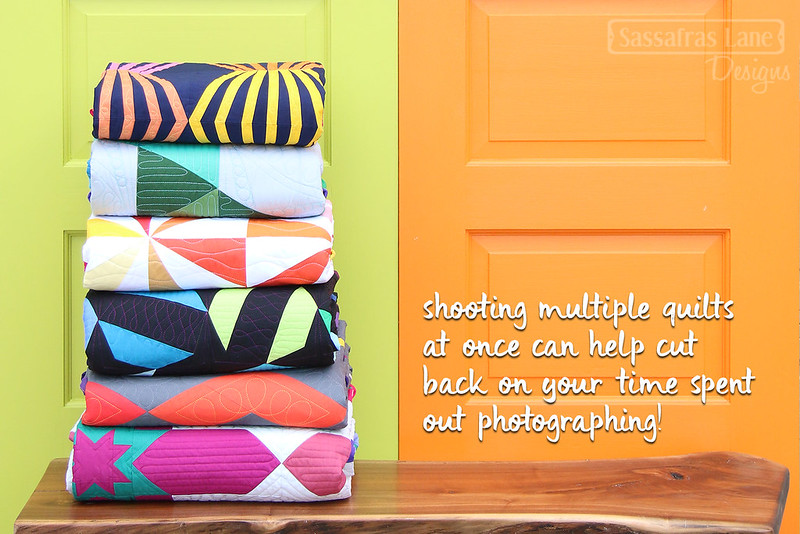
Make a Shot List
Take multiple photos of every project - you never know when you may need them! I like to take a number of photos of every project for the blog, Instagram, marketing and more. Here is my general list of photos to get.
- Flat Shots - get a vertical and horizontal layout
- Corner Flipped - to show the label on the back side and the backing
- Quilting Closeup - it is always good to have a beautiful photo of the quilting!
- Binding Shot - always great to show how the quilt was finished
- Folded Quilt - we love a good stack of quilts!
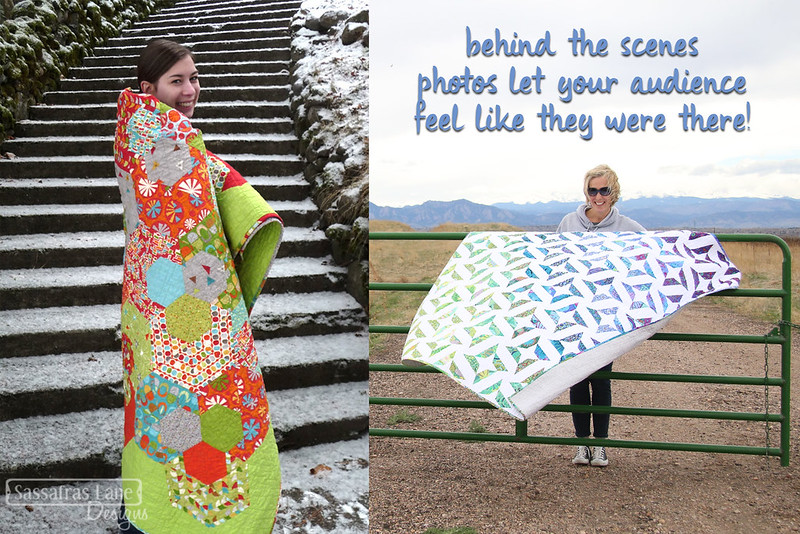
- Draped Quilt - over a fence or ladder to show some depth
- Behind the Scenes Photos - everyone loves to see the fun BTS happenings
- Fun Photos - don't be afraid to get a little silly and creative!
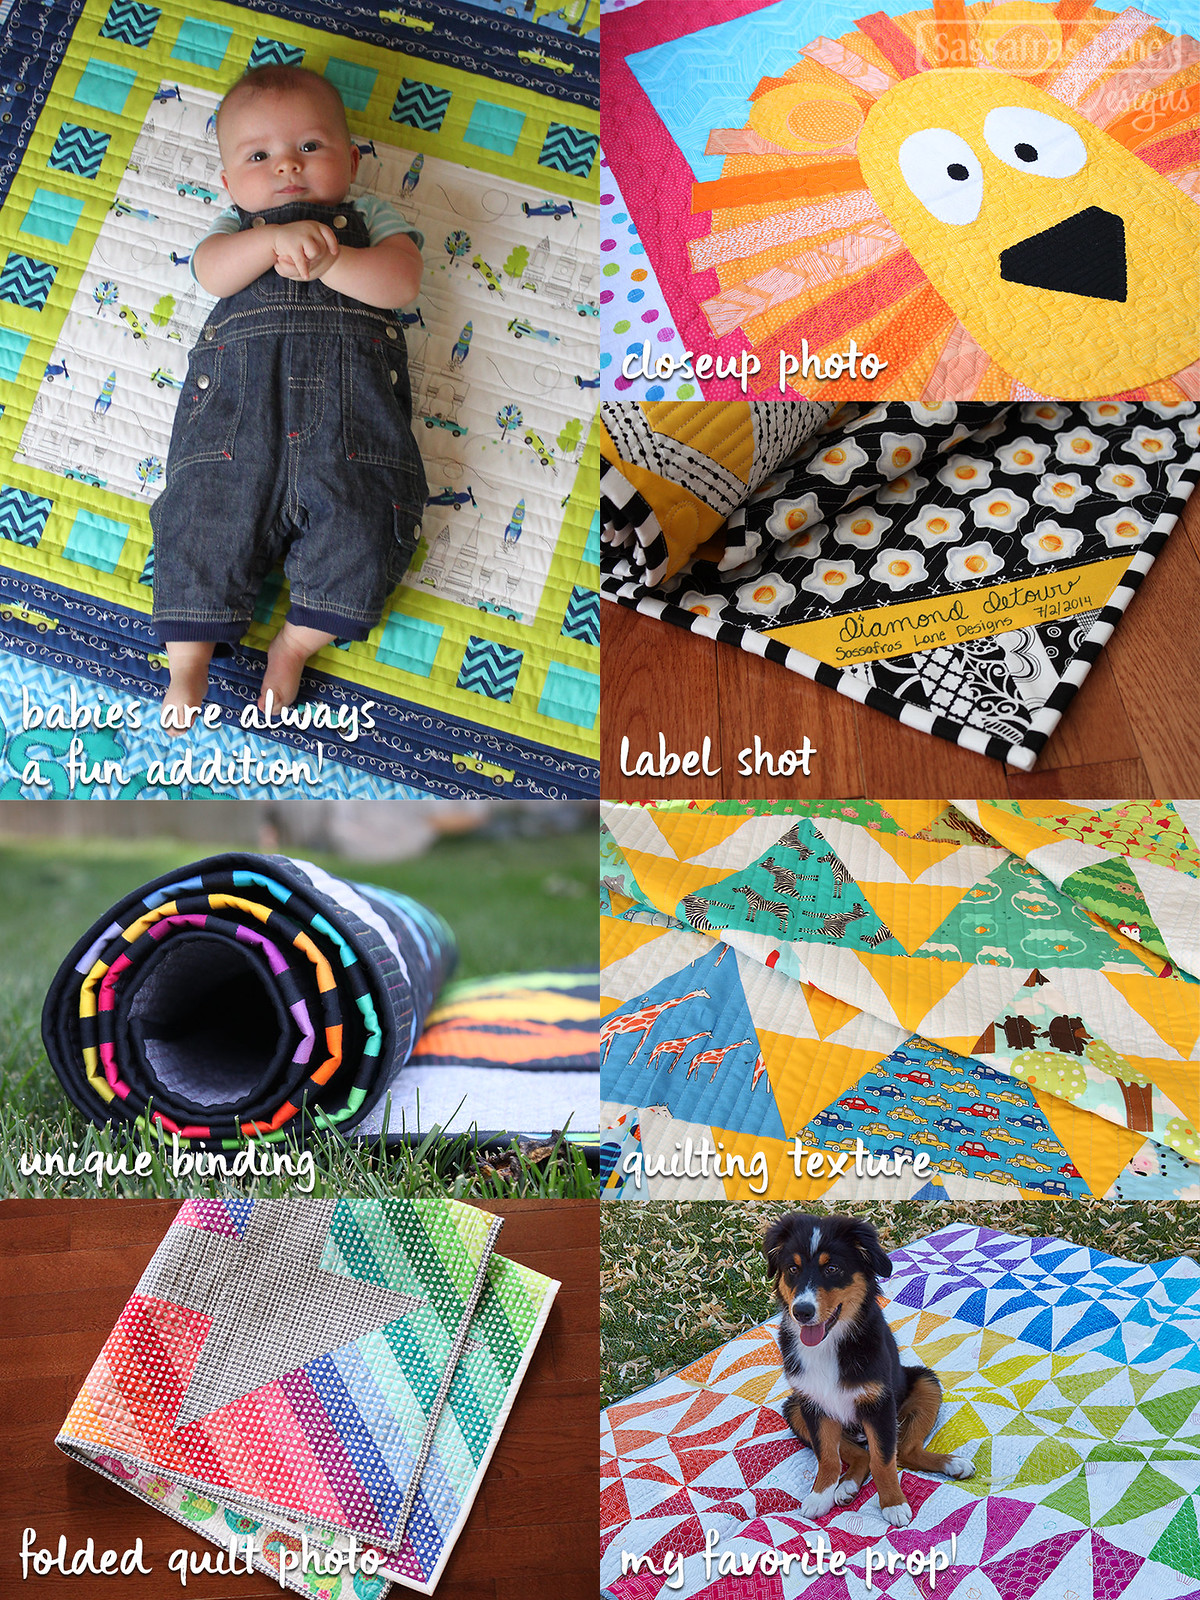
Add Interest
These are always my favorite photos! Did you make the quilt for someone? Grab them for a cute quick photoshoot. Did you fussy-cut something cute into the blocks? Take a closeup to show it off? Did you do some amazing quilting? Let the light highlight it! Have a cute pet? Let them star in a few of your photos! Is there a theme to the project? Add some fun props to really drive the theme home.
Have Fun!
The most important thing is that you have fun while photographing your quilts. It is a new section of the quilt making process and should become a part of your routine! And remember, sometimes rules are meant to be broken, so do what you love and you'll love the results!

Comments
Kikas Nook said:
I always want the perfect shot to highlight my quilts like a pro, I love your article, thank you for sharing with us.
Donna said:
Thank you! Great information!❤️❤️
Diane said:
Terrific post…thanks so much!
Terry Guriel said:
I made the Focus Freeway for my grandson who is 20 years old. I was going to send a picture to show you, but I don’t see where to upload it. I made the wall hanging into a quilt by putting family photos around it! Needless to say, it was a very big hit!
Terry
Barbara said:
Great information, especially the “shot list.”
Thanks!
June Smasal said:
Good information. Thank you.