Sewology Sunday - Top Stitching 101
Our new Bugsy Backpack pattern has quite a bit of top stitching on it, so we are sharing our favorite tips to get that professional look for your DIY bags! Kristy is definitely the bag maker of the Sass duo, so here are some of her favorite tips and tricks:
Before You Start
I do a lot of feet and thread changes when I make a bag! Before you start, wind a bobbin to match each of your topstitching threads and write down your needle positions for each foot (you will be going back and forth a lot).
Two Rows of Stitching
Doing two rows of top stitching gives the bag that desired "professional look" and is pretty simple to achieve!
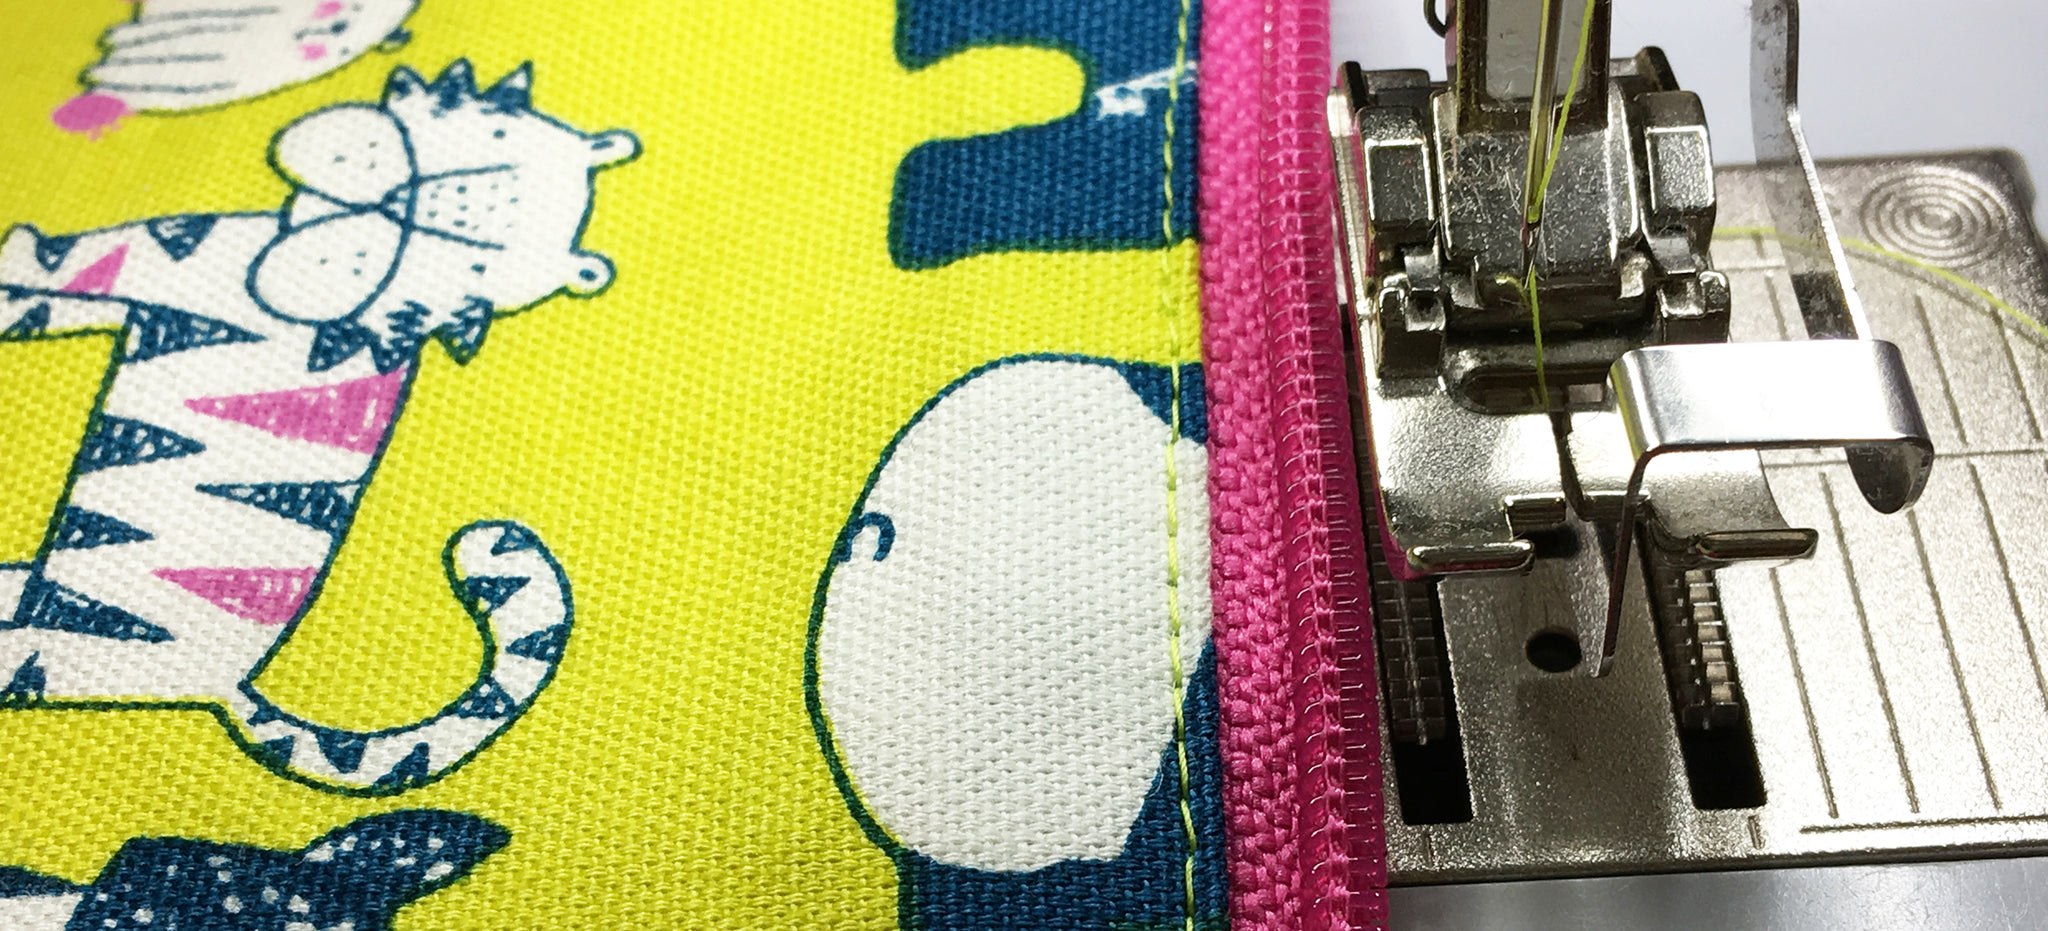
When top stitching close to the edge I like to use an edge stitch foot (on my Bernina it is #10). Move the needle to the right or left as needed to make a stitch that is close to the edge, but not so close that your stitches slide off the edge! Each machine is different so you'll have to experiment. Once you find a setting you like jot it down so you are consistent throughout your project. (On my Bernina it is 3 clicks from the center position with my #10 foot)
For the second line of stitching use a quarter inch foot and the same stitch length!
Matching vs Contrasting
Matching your thread to the fabric is more forgiving than contrasting thread - it helps to hide any small inconsistencies. That being said, sometimes you just need to add contrasting thread for a pop of color! Experiment and try some different looks - each project might need something different.
Stitch Length
Lengthening your stitch to a 2.5 to 3.0 gives you a professional look!
Starting & Stopping
Any time you can start and stop your topstitching at a point that will be sewn into a seam later you can hide the little cut threads. If that's not possible, a lock stitch to secure your thread looks better than backstitching. Don't have a lock stitch? Make your stitch length "0" and you will get little stitches in one spot!
Down Needle Position
Sewing with your needle in the "down" position will help keep your stitches straight when you pause or come to a spot to pivot at!
Bugsy Backpack Top Stitching on the Zipper
After you add the zipper to your Bugsy Backpack, you will want to top stitch along the zipper and here is how we recommend doing it!
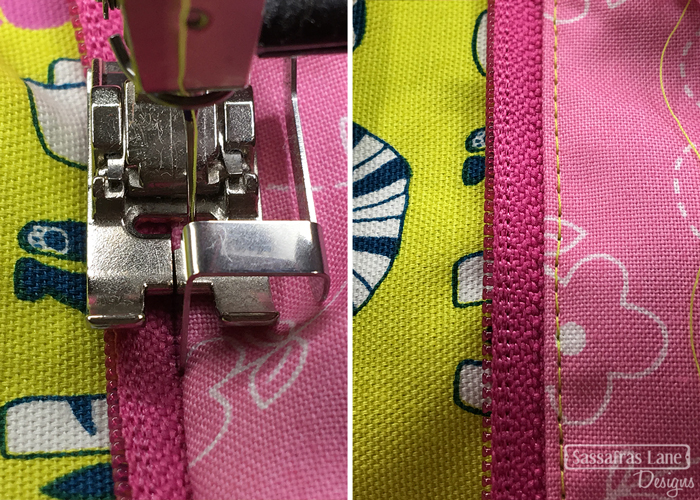
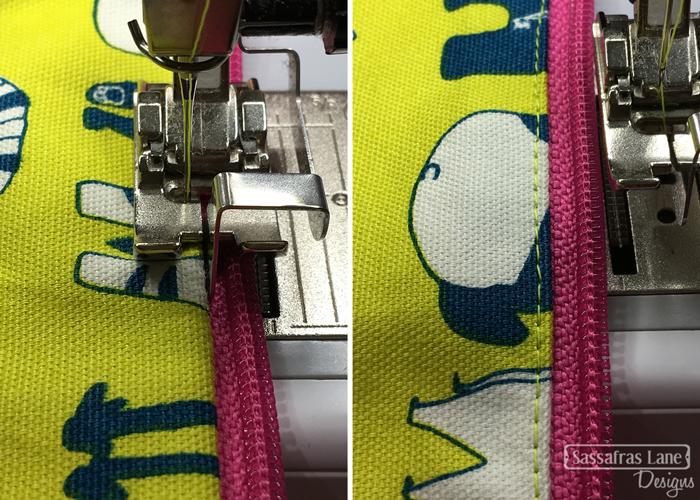
First, pull the lining and bag body apart. Using your edge stitching foot, top stitch close to the edge just on the lining first.

Then tuck the lining into the bag and top stitch along the bag body, going through the bag body, zipper and lining.

And Voilá - you have professional looking top stitching on your Bugsy Backpack! Have any questions? Drop us a line, we would love to hear from you! Happy Sewing!


Comments
Nancy said:
A-Oh, I must have done something wrong? On Bugsy Backpack, I’m having problems with:
“CLOSE UP THE BAG TOP (A) Close zipper. Push bag into lining with RST.”. If I close the zipper, I can’t push the bag through and if I turn it with the zipper closed I have WRONG sides together. help?
Dorothy Conniff said:
I have the same problem as Nancy. When I close the zipper, I can’t get the right sides together to close the top.
Nancy said:
Oooo wait! I finally figured it out! We’re not actually ‘turning’ the bag. We just need to push the lining and bag together at each zipper end. Just like she said, imagine you are sandwiching 2 ‘Box Bottoms’. Hope this helps. Good Luck. BTW, other than this 1 incident I LOVED these instructions. One of the best I’ve ever used for bags. And I’ve done a lot!
Denise Lewis said:
I’m sorry but I’m stuck at the same spot…Closing up the bag. The step prior to that has the exterior and lining wrong sides together for the final top stitching through all layers (exterior, lining, and zipper). If I close the zipper at this point the exterior and lining are still WST. The photos for the next step (closing up the bag) show the bag inside out, but i can’t turn the bag inside out AND close the zipper. Sorry but I can’t figure this out even with Nancy’s prior posting.