Sewology Sunday - Cutting 60° Triangles

Triangles, triangles, triangles. Triangles seem to be a crowd favorite in the quilting world these days. Today I am going to demonstrate how to successfully cut 60º triangles.
Starch will be your best friend when sewing triangles. There are two bias edge to each triangle, this means lots of stretch! To avoid the stretching and get perfect triangles, starch your fabrics! You don't have to drown them in starch like I do but, the stiffer, the better.

The simplest way to cut triangles is to cut them from a strip. Decide on the height of triangle you would like and cut a strip to this width. Find a ruler with a 60 degree line.

Now let's use our strip and ruler to cut those 60° equilateral triangles!
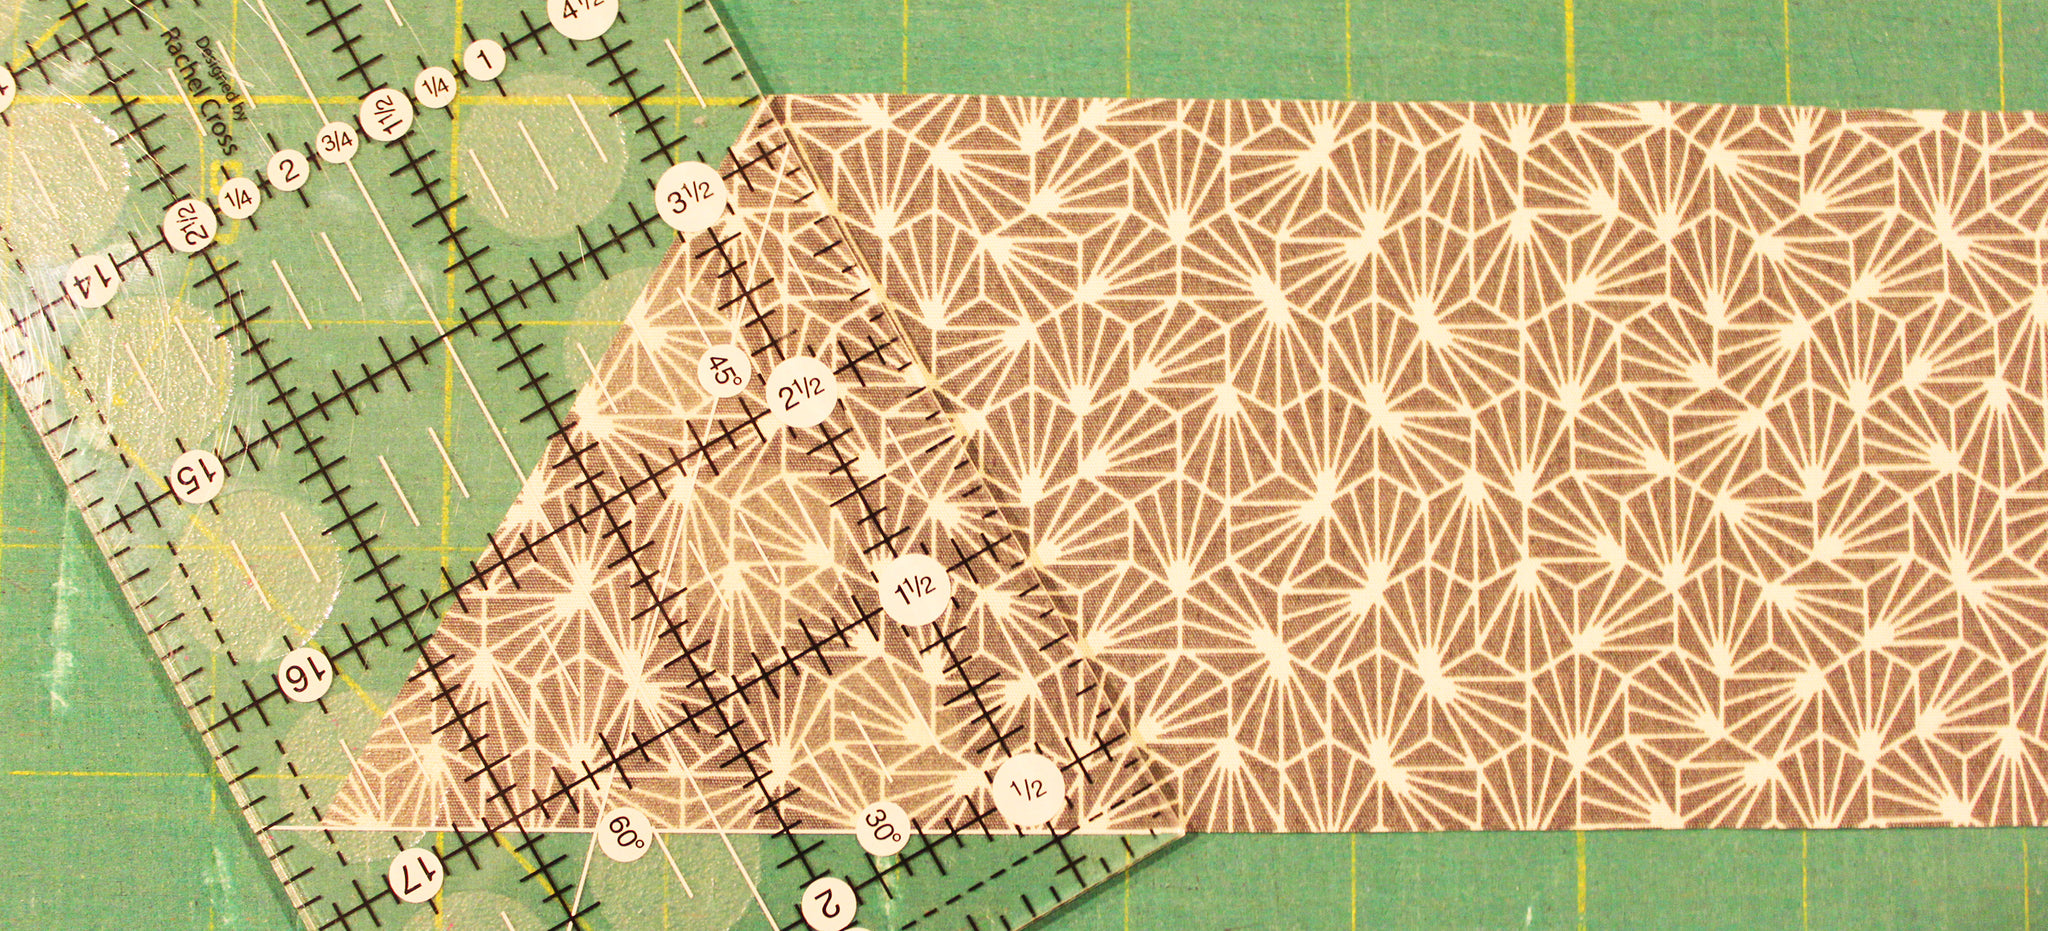
Step 1: Using a quilting ruler of your choice, line up the 60° line along the top of your fabric strip.

Step 2: Cut along the fabric with your rotary cutter along the ruler.

Step 3: Line up the other 60° angle line on the bottom of your fabric strip. Make sure your ruler is lined up so that you have a point at the top of your triangle. Cut your triangle using the rotary cutter.

Step 4: Line up the other 60° ruler line along the bottom of the fabric. Be sure to keep the point intact! Cut the triangle. Continue to cut triangles down the strip, flipping the ruler from one 60° line to the other.

Once you have your triangles, try to keep all the triangles facing the same way. This will help you keep the grain straight when you sew them together. The yellow arrows represent the grain in the triangles you just cut!

Now, if you have a 60 triangle ruler, cutting is even simpler! Just flip the triangle up and down!


Voila! Next week I will get a few more cut and share a few tips on sewing them together. Thanks for stopping by!


Comments
Jerseyj said:
Thanks for help with 60degree triangles.
Wendy said:
Thanks for this tutorial. You made very clear instructions!