
Sewology Sunday - Sewing 60° Triangles

First of all, happy Father's Day to all the wonderful dads out there! Second of all, happy Sewology Sunday!
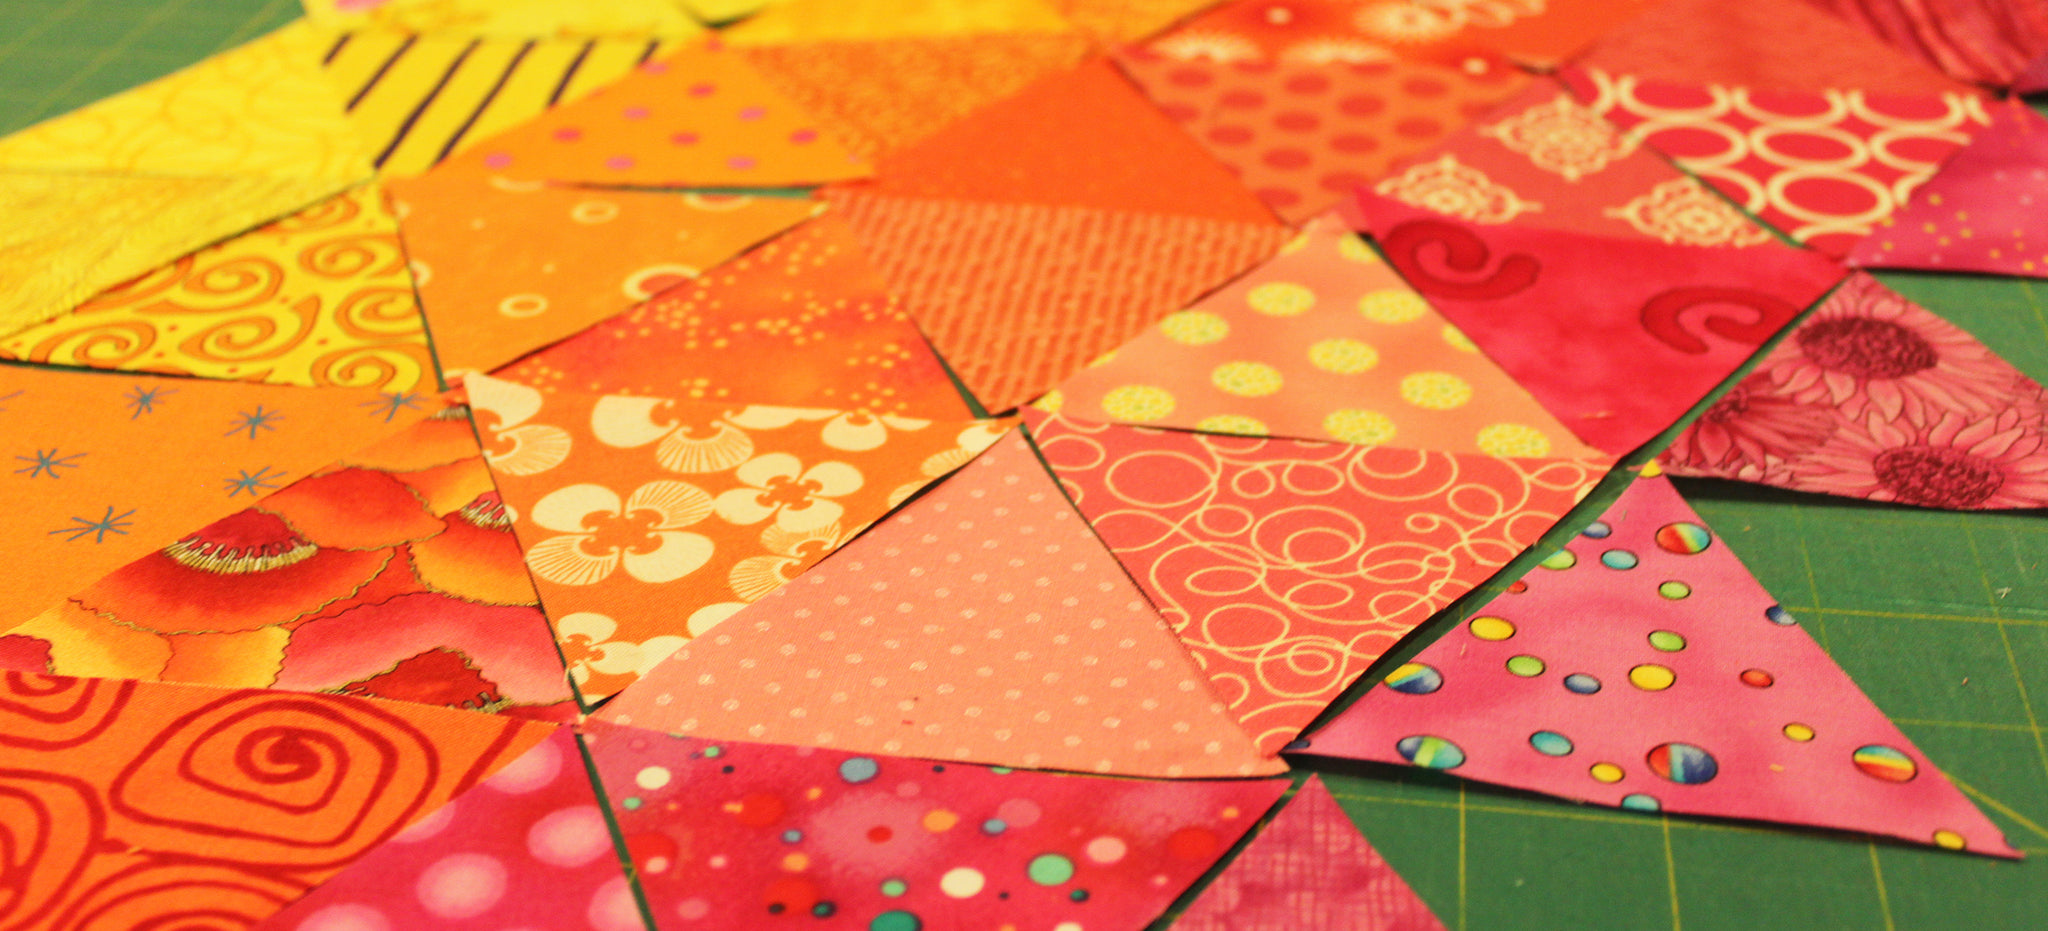
Last week we learned how to cut our 60 degree triangles. Today I will share some tips and tricks to sewing them together. These tips work with any size equilateral triangles. The bigger the triangles, the more I suggest using spray starch and pins. Now lets sew those triangles together!
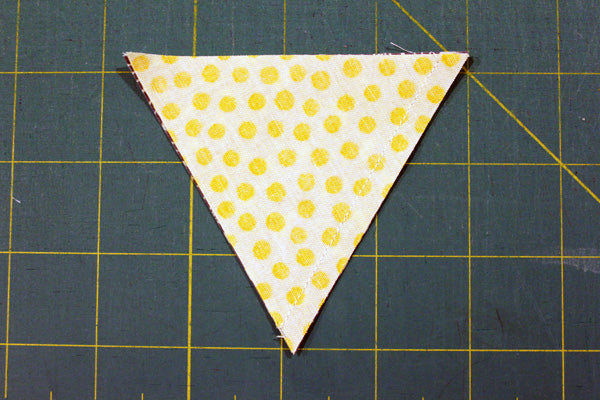
Set two triangles next to one another. One pointing down and one pointing up. Be sure to keep the grain up and down.

Layer two triangles right-sides-together along their opposite bias edges. Sew them together with a 1/4" seam. Don't pull and stretch the triangles.
Press the seam to one side. Set up the next triangle pointing downwards.

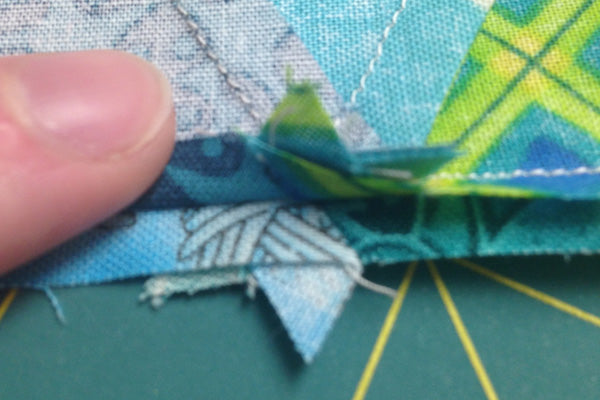
Layer the third triangle onto the first, lining up the bias edges. You will place the needle in the intersection of the two triangles. Sew along the edge with a 1/4".

Press it open in the same direction as the previous triangle. Repeat until you have the rows sewn. Iron your rows in opposite directions.

This will enable you to nestle the seams when you sew them together. They will be at 60 degree angles, but they will nestle and help you get perfect points!
Once the rows have been sewn together, I press the long seam open. This helps with some of the bulk when you quilt over the seams.


Voila! Now that triangles are easy, there are endless possibilites of shapes to create! Hexagons, Diamonds, Trapezoids and Parallelograms. That darn highschool geometry is coming back to haunt you! =] Just kidding! It is coming back to help!
Next week I will show you how all these lovely mistakes (remember the entire Lombard Street I cut wrong?) evolved into a fun little table runner project. Thank you for stopping by!

Comments
Donna Lawrence said:
love you site
Ann Hawkins said:
I appreciate your instructions. I saw a thousand pyramid quilt and fell in love with it, but I have been unable to figure out how to line up the points. I think your instructions and great pictures have supplied the missing puzzle pieces. I am going to try as soon as time permits. Thank you
Linda said:
Thanks you for posting this tutorial. It has been very helpful.
Frances Tennant said:
You saved my day! This makes the piecing equilateral triangles easy — I hope. Your illustrations are great. Thanks.
Erin said:
Very helpful! Thank you!
Quilting Focus said:
Firstly absolutely love the colors being used here! We love using equilateral triangles too, we did a blog post a while back with a New Zealander who writes at ‘On the Windy Side’ giving a great tutorial on how to sew equilateral triangles. https://quiltingfocus.com/2015/05/sew-equilateral-triangles/. As always Happy Quilting! – Quilting Focus
Annabel Haylett said:
Really helpful. Thanks so much!
Teresa said:
Love your site. So glad I found it and all of your great tutorials. I feel more confident as a result.