
Sewology Sunday - 1/4" seam allowance

One of the most overlooked aspects of quilting can make all the difference! Especially, for those intricate blocks with lots of seams. So, let's check that 1/4" seam allowance!
Step 1: Cut five rectangles 1 1/2" x 5 1/2".

Step 2: Sew them together to make a rail fence block.

Step 3: Press the seam allowances to one side.

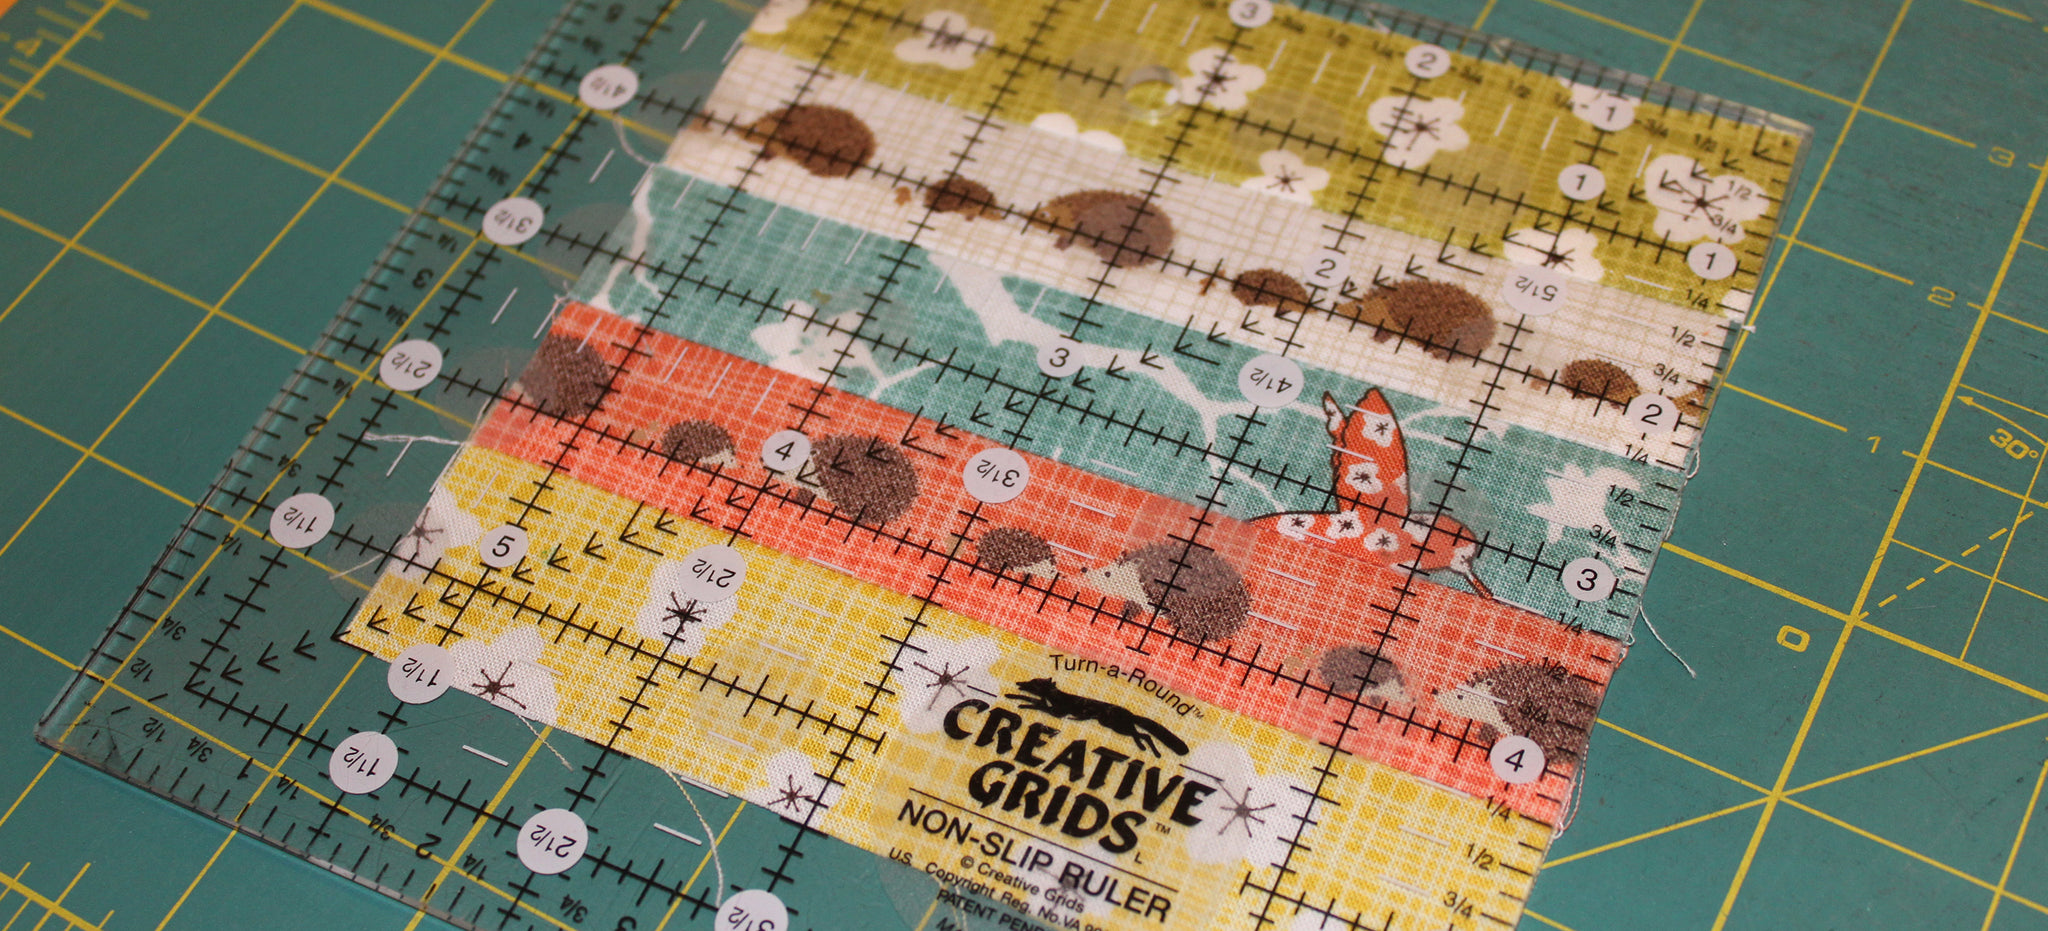
Step 4: Measure the block. The finished block should measure exactly 4 1/2". Mine turned out to be a little smaller (See the top of the block?).

So, I am going to move your needle position a smidge to the right. This will make my seam allowance a little bit smaller. If the rectangle is bigger, move your needle a smidge to the left to make your seam allowance a little bit larger.

Having an accurate 1/4" seam will make your life much easier in the long run. Imagine not needing to "Fudge" new pieces to attach them! Wouldn't that be nice?
Now go check your own seams! Thanks for stopping by and have a lovely Sunday!

Comments
RobinSue@RobinSueQuilts said:
That scant 1/4" seam is so tricky. I marked an index card, sewed on it & aligned Glo-Tape. I am always looking for good ideas. I should follow your advice, write down the settings and maybe my seams will be more consistent. Thanks for reminding me of this important step in quilting!
Dawn said:
I purchased from craftsy the Shivaun Place quilt kit. When cutting my pieces out for the background it had 25" x WOF. What is 25" on the quilter’s ruler? Is it 2’ 1/8 on the ruler mat?
I would appreciate your help.