
Sewology Sunday - Installing Magnetic Snaps

Happy Saint Patrick's Day! Hopefully we are all experiencing a little Irish luck today! Today's Sewology Sunday has absolutely nothing to do with Saint Patty. Sorry! I didn't preplan a green event for today... FAIL! But, I am wearing green and going to show you how to install Magnetic Snaps! =]
Today's Sewology Sunday is on Magnetic Snap Installation! I made a fun animated image for today's tutorial again. It spends 5 seconds on each image and is on a continuous loop. So, if you miss something, don't worry! It is coming back around. This will be a handy tutorial for our new bag!!! We are having the pattern tested, then it will be out for the world to see! Let's install some snaps!

Just in case this makes you dizzy or moves to quickly, we have written out the steps here:
- Mark the center of where you would like your Magnetic Snap to go.
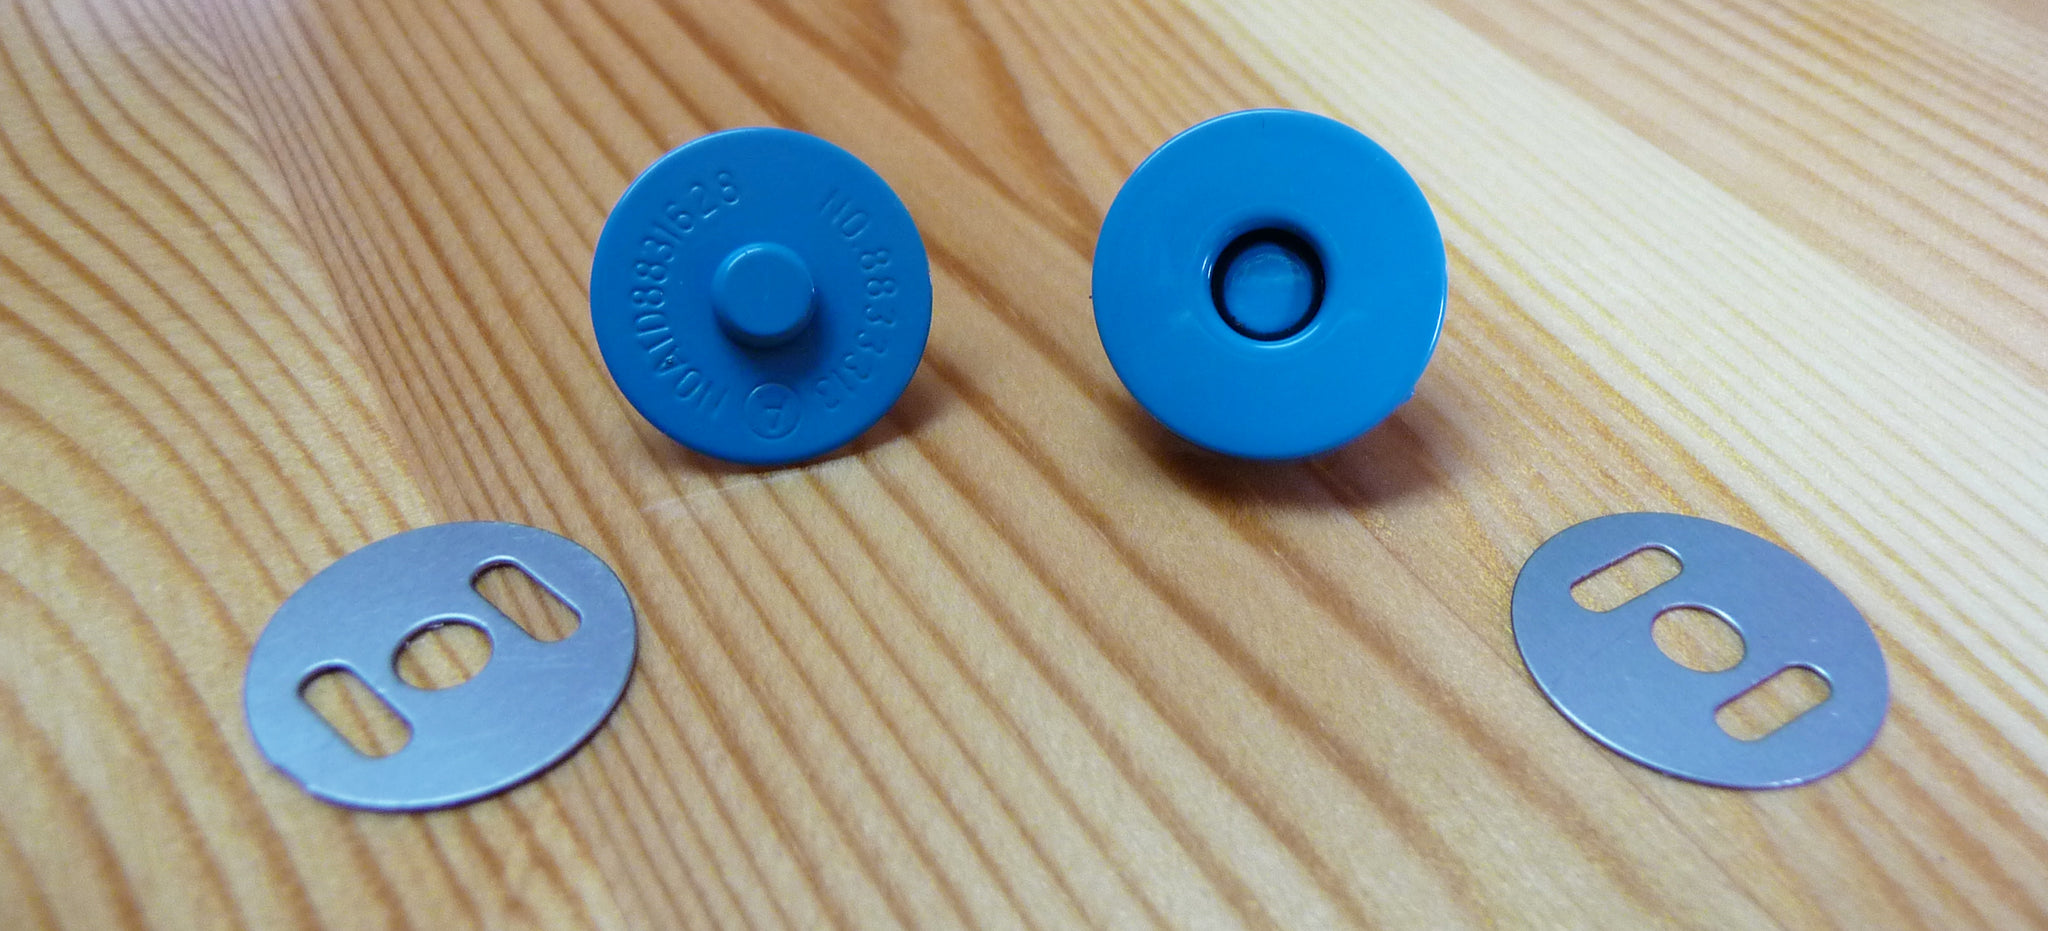
- Using the washer (back of magnetic snap) mark the two slits.
- Using a seam ripper, CAREFULLY, cut two slits into the fabric on the lines marked in the previous step.
- Put the Magnetic Snap on the fabric with the prongs through the two slits.
- Place the washer over the prongs.
- Bend the prongs towards the outside of the Magnetic Snap until they are flat.
- Iron a small piece of fusible interfacing over the Magnetic Snap to stabilize it.
- Repeat for the other side of the snap and Voila!

Comments
Alison Heath said:
Can you tell me where you bought your coloured snaps ?
Thanks
Alison
susan muraik said:
Also wanted to know where you get the colored magnetic snaps?
Donna said:
Also looking for colored snaps.