
Sewology Sunday - Installing Grommets

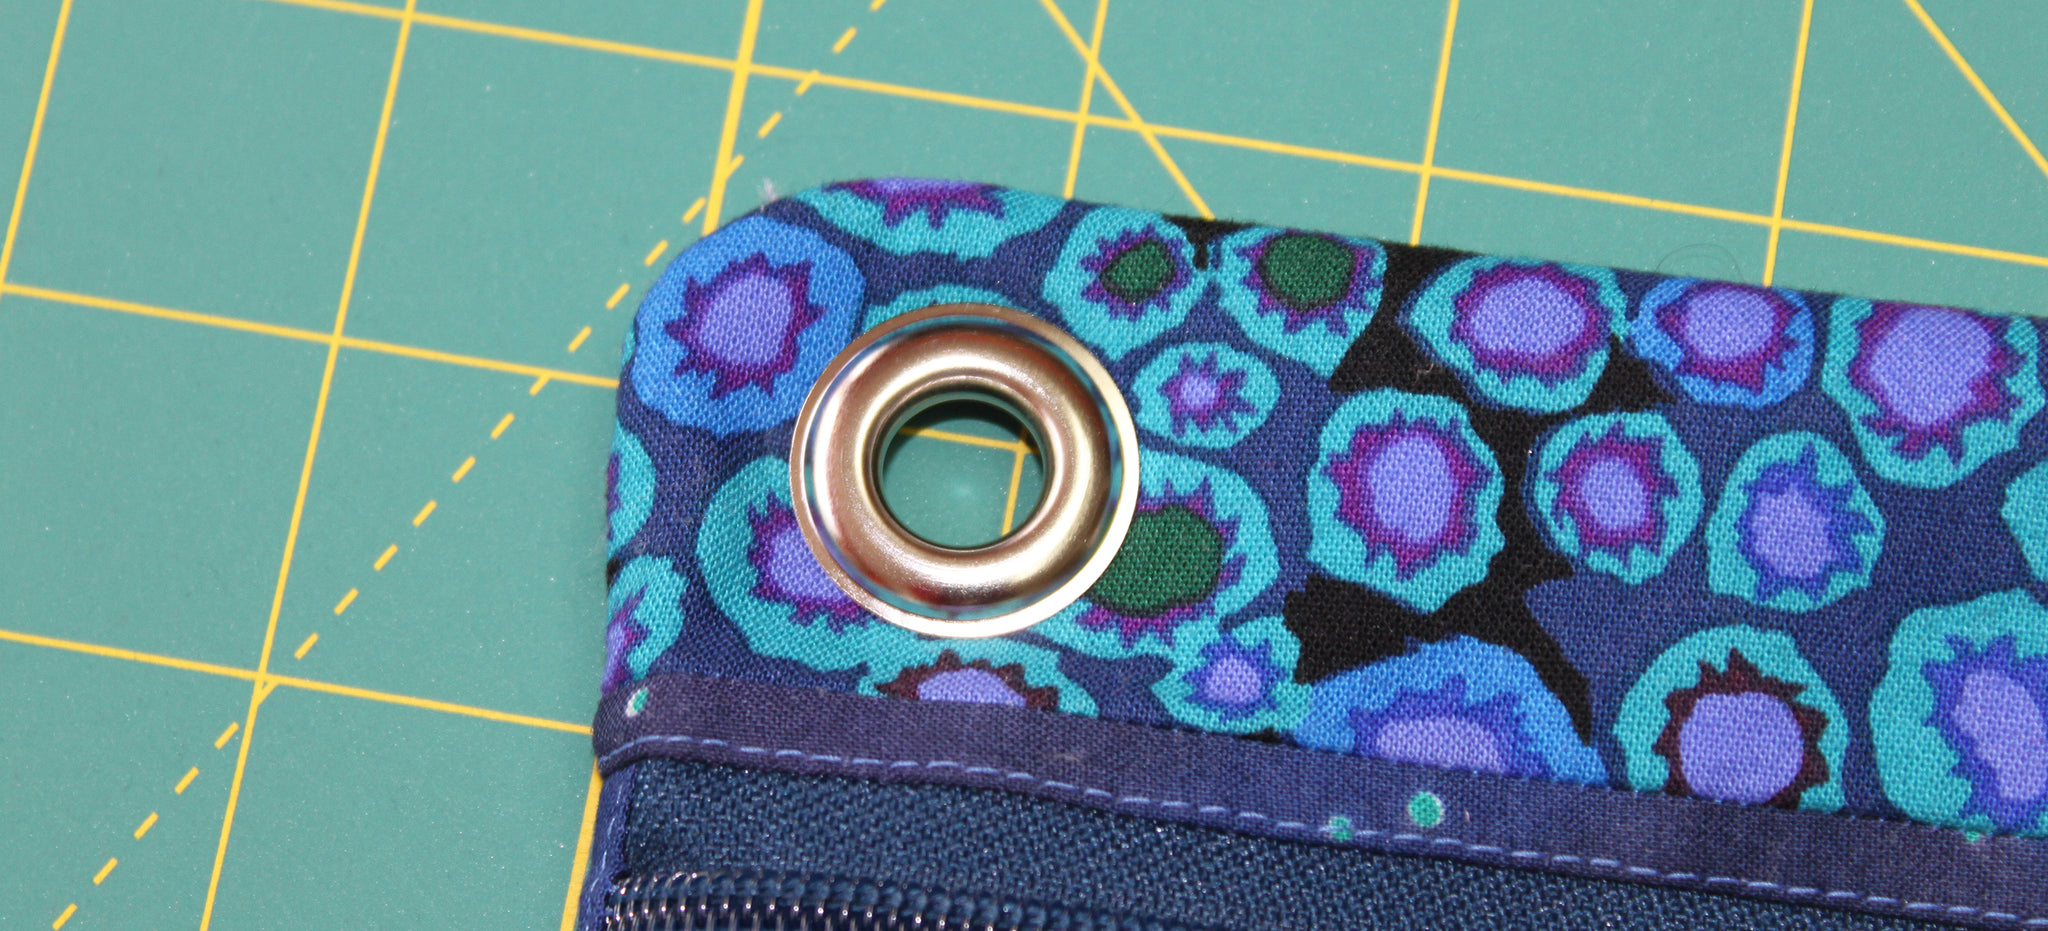
Happy Sewology Sunday! My Sunday's usually start with a big cup of coffee and some puppy love while I peruse my favorite social media outlets and blogs. This is when I catch up on all the pins that slipped by me all week on Pinterest, I actually read the blog posts I scrolled through while looking at pictures and I do a little blog post of my own! I wanted to try a little something new this week.... an animated image! The topic of Today's Sewology Sunday post is how to install grommets/eyelets in purses. We use these in our Cassidy Crossover purse.

You may have noticed that I use the words grommet and eyelet interchangeably. To us, there is really not much of a difference. Typically grommets are used in heavier duty construction and are larger, while eyelets are more decorative and smaller. In this context, we are talking about the same pieces. Sorry if this confusing!
For our tutorial, we used an old Cassidy Crossover testing purse... so it looks a little different than the finished product. But, the installation process is the same. I made this fun animated GIF file with the tutorial photos. It moves! The images spends about 3 seconds on each step and is on a continuos reel. For individual and more detailed steps, read below.

How to install a grommet/eyelet (the Sassafras Lane way!):
- Using the back of the grommet (flat piece), mark the center hole in the place you would like the grommet to go using a chalk pencil.
- Place pins on both sides of marked hole. Sew a square around the hole. This gives the bag some stability and will keep it from sliding while cutting and installing.
- Cut out the circle. You can use a special tool or scissors. When using scissors, we recommend cutting little slits in the center first to create and X, then cutting around the circle. Small and super sharp scissors work great. Be careful not to cut into the sewn square.
- Place the grommet top (the piece with the flange) on to the grommet tool. It should fit nicely.
- Put the purse, front side down, onto the grommet flange through the hole.
- Place the back of the grommet onto the purse back over the flange.
- Place the long part of the grommet tool into the grommet flange. It should fit inside. Make sure it is all the way inside.
- Take out side, onto cement or a very hard surface. Hammer time! Using a hammer or rubber mallet, pound the top of the grommet tool.
- Check to see if the flange is flat on the backside of the purse. If not, put tool back in the hole and hammer again.
- Repeat for the other hole! Voila!

Comments
Sarah Teranishi said:
I recently took a course on the cross over purse at the Quiltique shop in LV, Nev. The instructor said that we could have a step by step instruction with illustrations if we go on line. She even had a print out of what she was following. I cannot find it on line. When I go to the link on Cross Over purse, I just get a blank screen. Sarah