
Sewology Sunday - Easy Quilt Label

Hello lovelies. I know it is pretty late in the day for a Sewology Sunday... Sorry! Better late than never, right? I know I promised a mitered corners tutorial, and I still plan to do one. But I want to have a physical example and with Quilt Market sneaking up, I just can't find the time. So here is tutorial on the world's easiest quilt labels. No hand sewing! None.
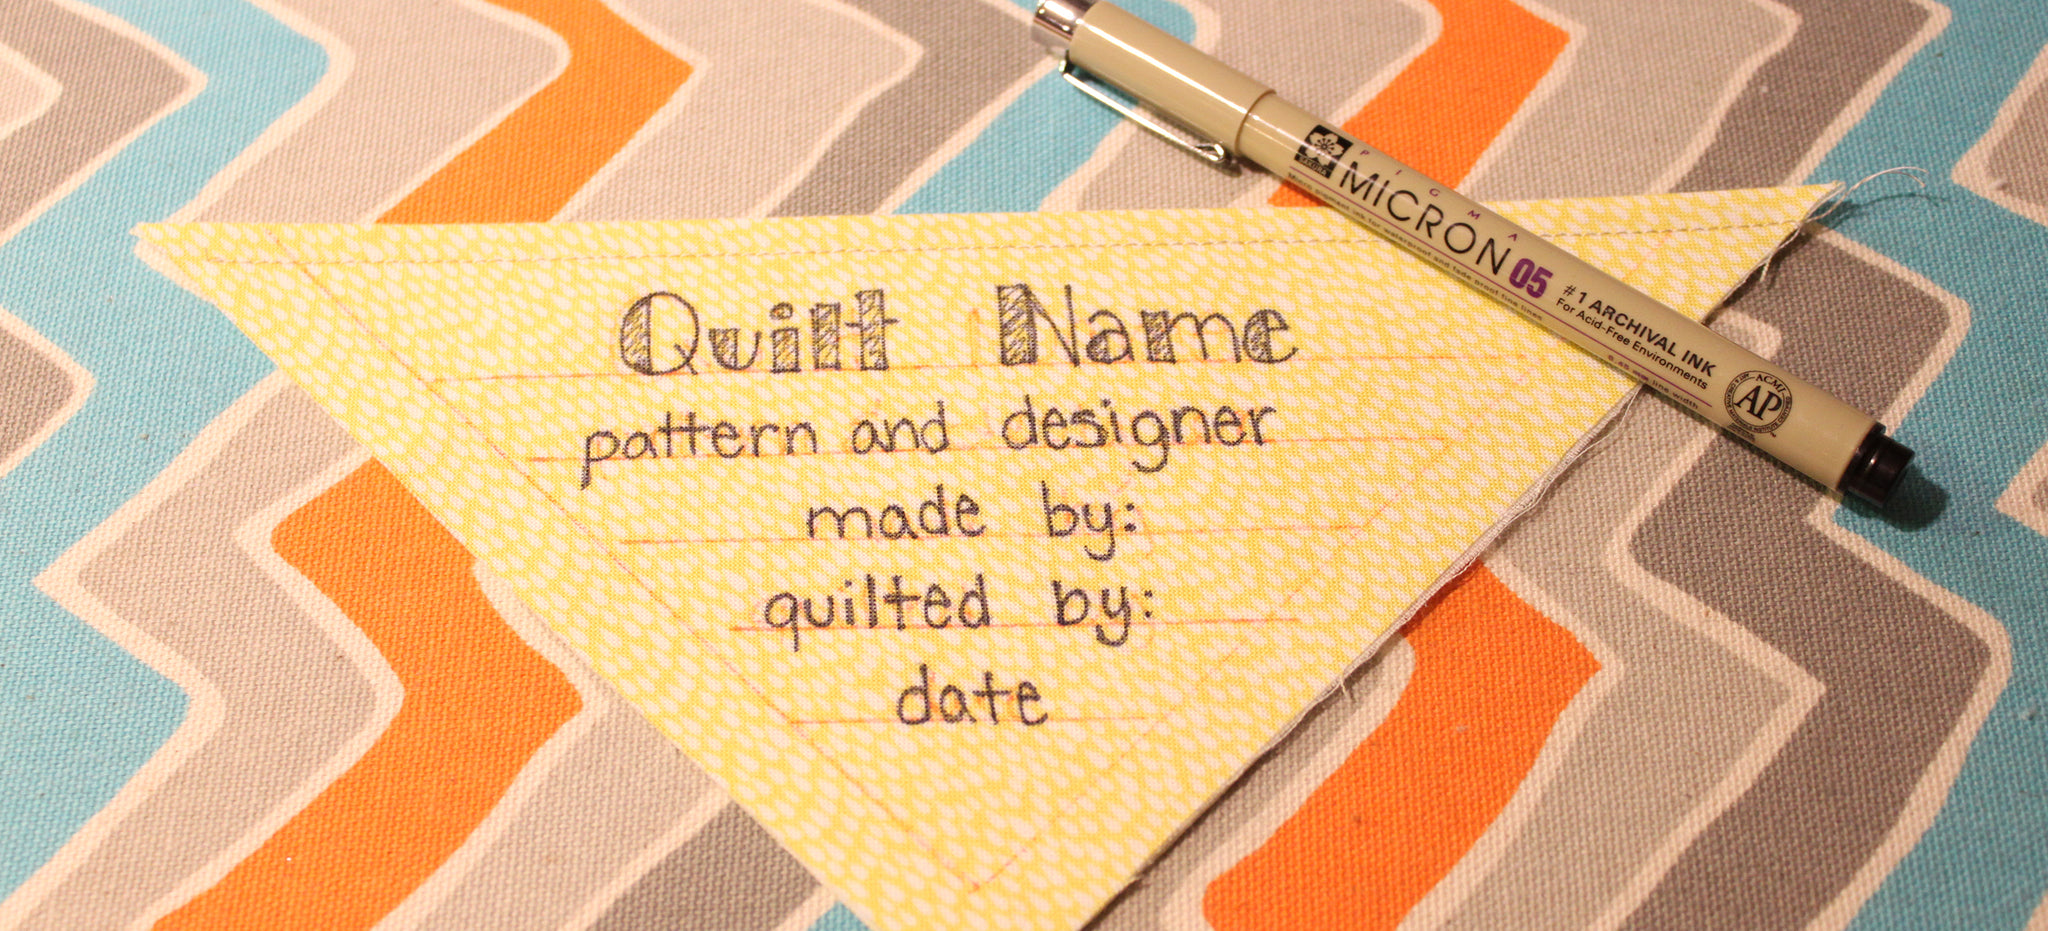
1. You will need some fabric (preferably not too busy of a print), fusible interfacing (to add some stiffness), a Frixion pen and a Micron pen or fabric pen. I am using one of the awesome Rain prints from Timeless Treasures for my example. I usually use a fabric from the front of the quilt if I have scraps.

2. Cut the one 6 1/2" square from the fabric and fusible interfacing.

3. Iron the fusible interfacing to the backside of the fabric. Fold the piece in half on the diagonal, wrong sides together, and press.

4. Sew a 1/4" from the fold along the entire edge.

5. Using your Frixion pen, grid out where you would like to write. I put lines 1/2" from each side, 1 inch from the top and 1/2" down until I run out of room.

6. Practice your writing with the Frixion pen to get an idea of spacing. This is when I find out how inconsistently I write! But, it does help me center things. (a little bit)

7. Using your Micron or Fabric pen, write all the text you would like to appear on the label. Good things to include are: Quilt Name, Pattern Name and Designer, Sewer (you!), Quilter, Date Made, and Recipient (if it is for someone). Some people go crazy and include: fabric line, fiber, batting type and thread. Include as much or as little as you would like! (Notice mine is still not centered!)

8. Using a warm iron, remove the Frixion pen.

9. Add it into your binding the bottom corner of your quilt and Voila! With the two raw edges in the binding and the top finished, there is no need to hand sew anything.

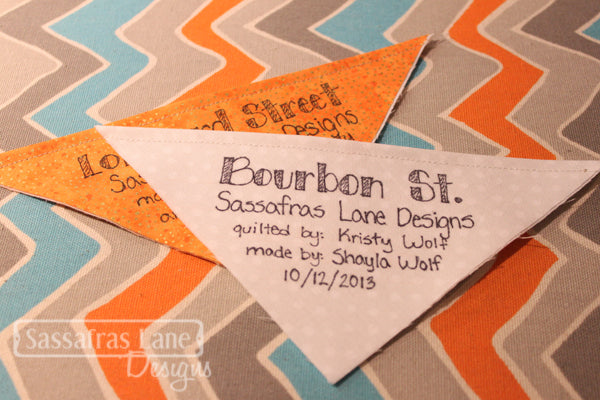
Here are few I have made recently for Quilt Market quilts. I shortened Street to St. on one because Bourbon became much fatter than anticipated.
These are about as simple as quilt labels come. Some people get very creative and have fun with them. Have any fun creative ideas for a quilt label you would like to share? We would love to hear it! Thanks for stopping by and come back soon!

Comments
Kathy said:
How clever and so simple, I`m going to do that with my next quilt. Thank you
cindy axt said:
This is awesome tutorial. Thanks for the idea.
cindy axt said:
This is awesome tutorial. Thanks for the idea.
Marianne said:
I’d caution people not to use a Sharpie but another permanent ink made for fabrics. I discovered this the hard way. After a number of years down the road, the Sharpie ink separates and leaves a yellow “halo” around the letters you’ve written. It’s very unsightly. I had to go back and redo a number of labels due to this.
Sharyn Hutchinson said:
Thanks for this tutorial. I’ve found that if I print out my text on the computer first, I have better luck centering my words. Just make sure the text size is the same as your handwriting size.
Corinne said:
just what I was looking for, thanks
Diane said:
looks like you would have to hand stitch along the top of the triangle. Otherwise wouldn’t it create a pocket? I’d be afraid quilt user would accidentally rip it off (catch a foot in it, etc) Might work ok in a wall hanging though
Renee said:
Open the triangle, stitch along the crease, close the triangle, then the label gets encased in the binding with no pocket.
Liz said:
Thank you, this is such a clear and clever idea. Thank you for sharing. After research, this is going to be my label of choice.
Rebecca S said:
I like the ease and practicality of the label. Since I do machine embroidery, I am going to put the info on the label with my machine. I am planning on using material from my father’s bibs. The quilt is for his great-grandson Zach.
Rebecca S said:
I like the ease and practicality of the label. Since I do machine embroidery, I am going to put the info on the label with my machine. I am planning on using material from my father’s bibs. The quilt is for his great-grandson Zach.
Bente said:
Great idea!
Thanks for sharing.
Annie said:
Going to try this. Thanks for sharing.
Camille said:
Sounds easy. I will try this on a baby quilt I have just finished the quilting on.
Thanks
Lucy said:
Grate Idea, actually I use this method for wall hanging, one each on the upper corners and placing a dowel in each corner for hanging. Thanks
Jackie said:
I agree with what Diane says. Renee, are you talking about hand stitching it in or machine?
Love the idea, but unsure about using a Frixion pen, I have heard so many stories about it coming back when the fabric gets cold.
Marie said:
Thanks for the tutorial, I was needing to know the measurements for the corner label. Jackie I think either way would work. I have used photo fabric to make my labels on my inkjet, don’t have any idea how that holds up after years of washings.