
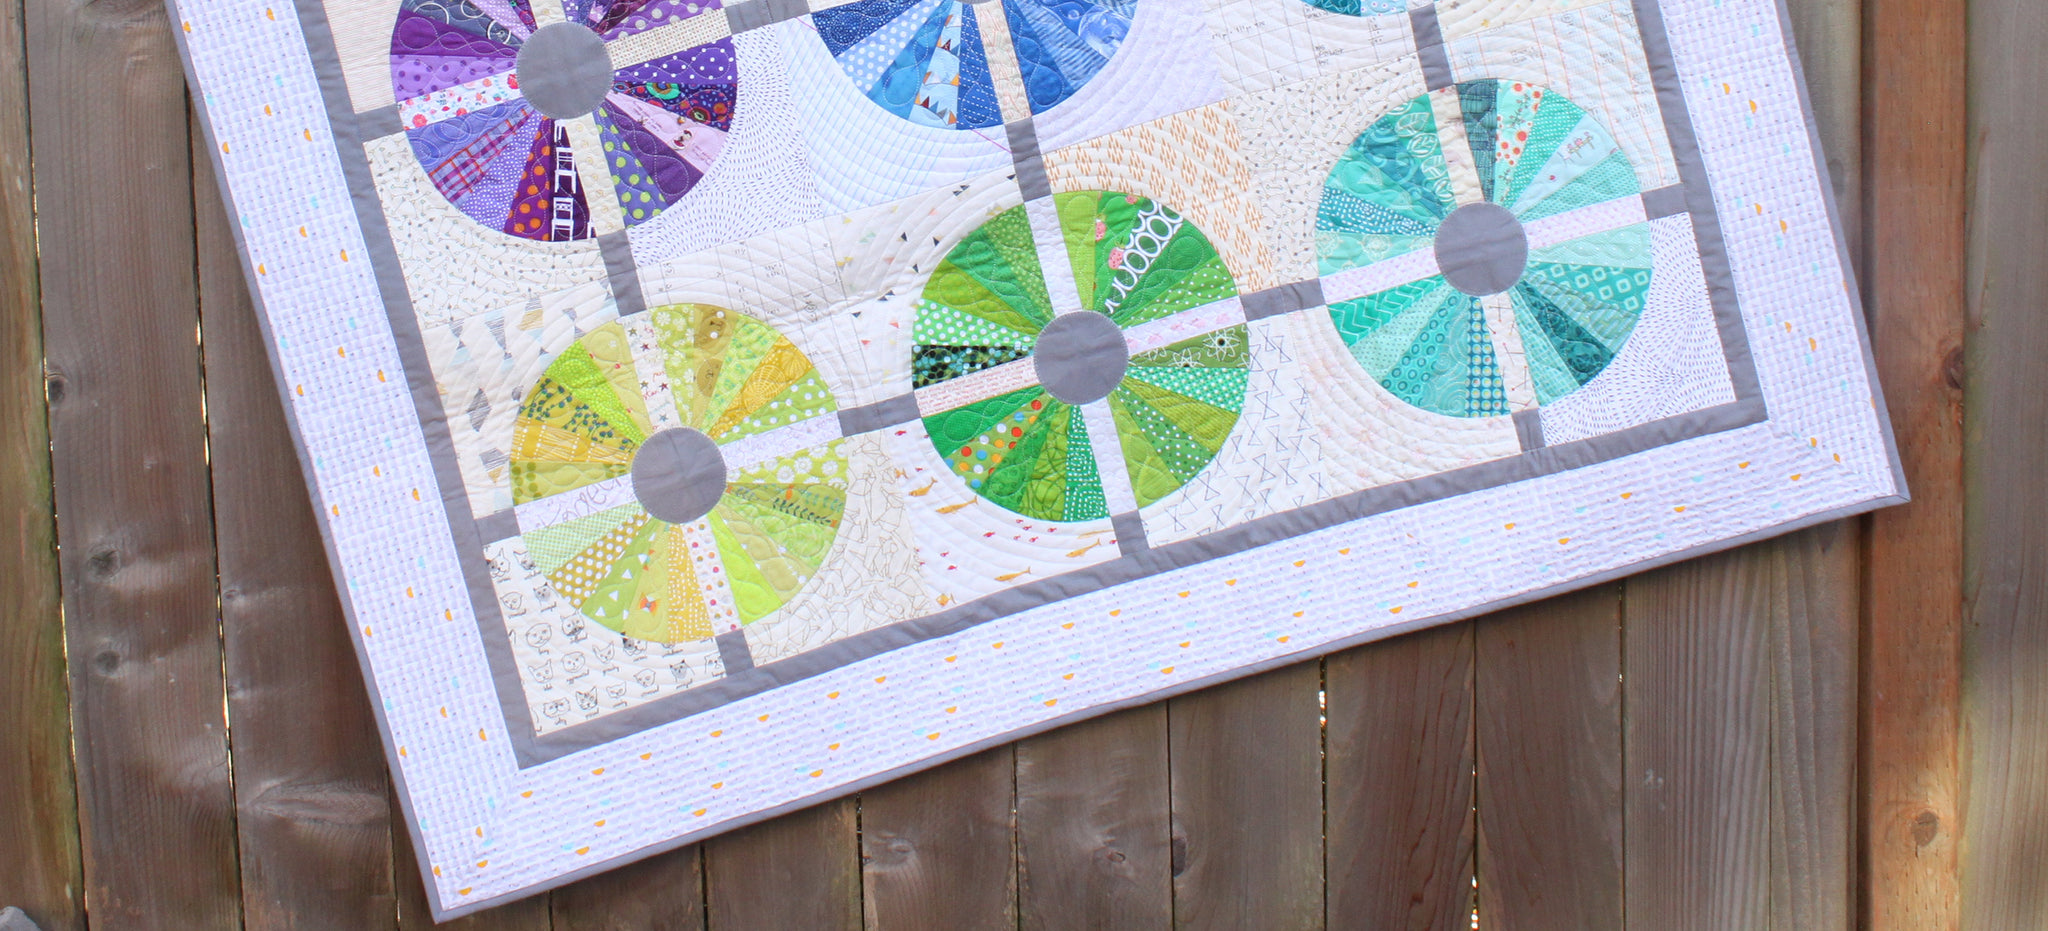
Sewology Sunday - Borders

Borders! Since my mom is a longarm quilter by day, this is one of her favorite things to preach! How to put borders on correctly. If you do it right, your quilt will lay flat and your quilters won't curse your name =].
Piecing your Border Strips
When piecing border strips, sew together with a 45 degree angled seam. The diagonal seam will be less noticeable than a straight seam.
- Begin by layering right sides of fabric together, overlapping as shown below.
- Draw 45 degree angle line from top left to bottom right. Use intersections where strips crossover as guide for drawing line.
- Sew directly on top of line.
- Cut away excess fabric leaving a 1/4" seam allowance. Press the seam open.


Attaching your Borders
1. Before cutting border strips, measure the quilt top vertically, along each side, and in the middle. Add these three measurements together and divide by three. The averaged number is the length for the side border strips. Cut border strips desired width, using length according to averaged measurement.

2. Mark the center on each strip and on each side of the quilt top. Match center marks and pin the border to the quilt right-sides together. Align and pin each end of the border strip with each corner edge of quilt top. Pin in between the center and ends. Sew the border to the quilt using a 1/4" seam allowance. Press towards the borders.

3. Measure the quilt top horizontally, along the top, bottom and middle. Add these three measurements together and divide by three. The averaged number is the length for the top and bottom border strips. Cut two border strips using the average measurement.

4. Mark the center on each strip and on each side of the quilt top. Match center marks and pin the border to the quilt right-sides together. Align and pin each end of the border strip with each corner edge of quilt top. Pin the in between the center and ends. Sew the border to the quilt using a 1/4" seam allowance. Press towards the borders.

5. Voila! When finished, the quilt top will be square. This method will help to eliminate the rippling/wavy effect in the borders. Repeat measuring, pinning and sewing steps for any additional borders.

Next week we will show you how to make mitered corners on your quilt. They are perfect for busy borders, striped borders, piano key borders and many more things. I hope you all are having a wonderful weekend! Thanks for stopping by!

Comments
Lorna McMahon said:
Great little tutorial. Looking forward to seeing the one for mitered borders, as well!