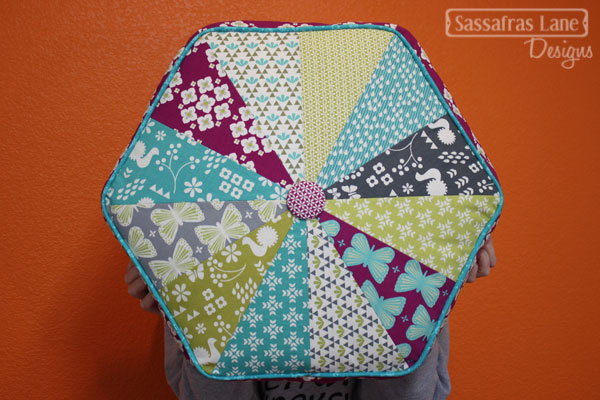
Arcadia Avenue Pillow Tutorial!
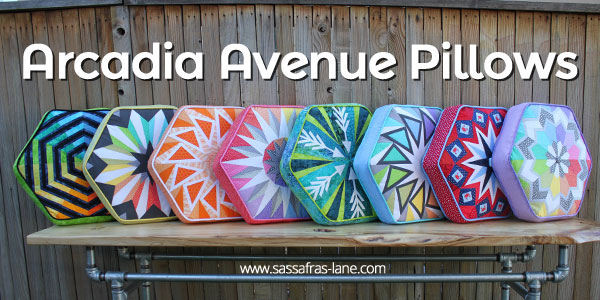
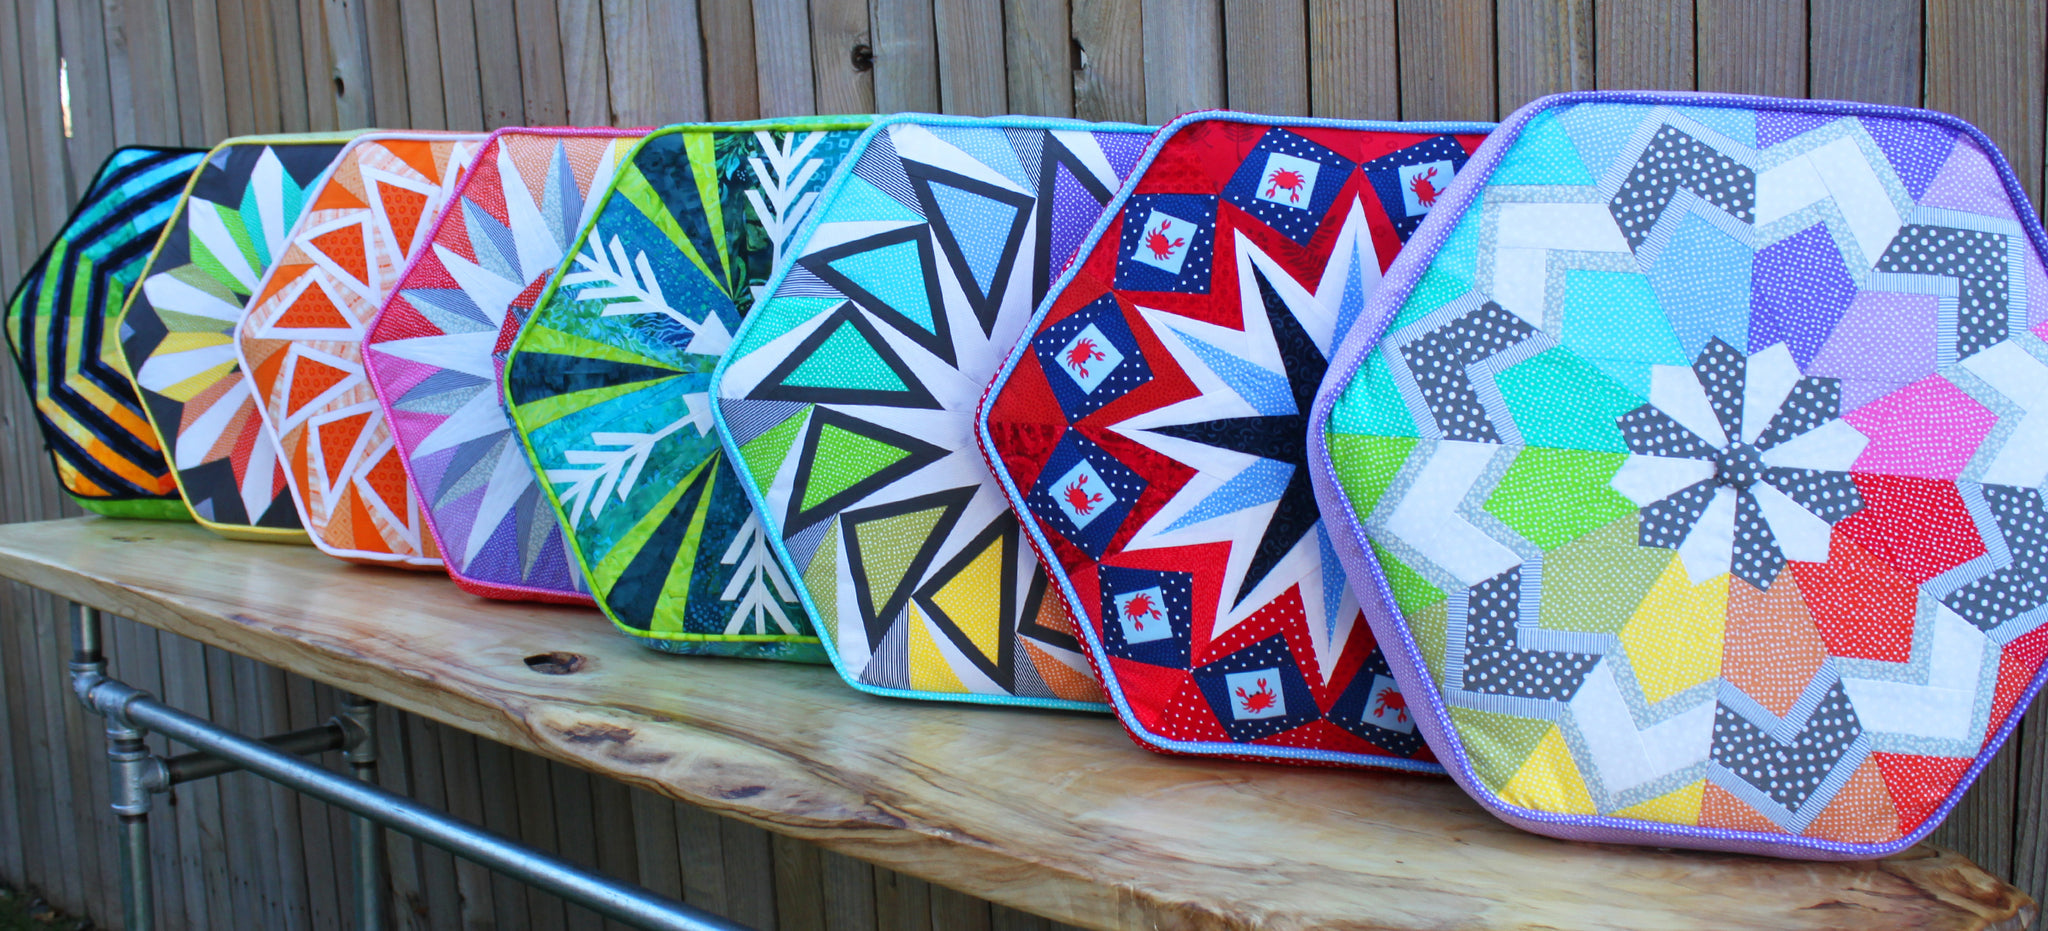
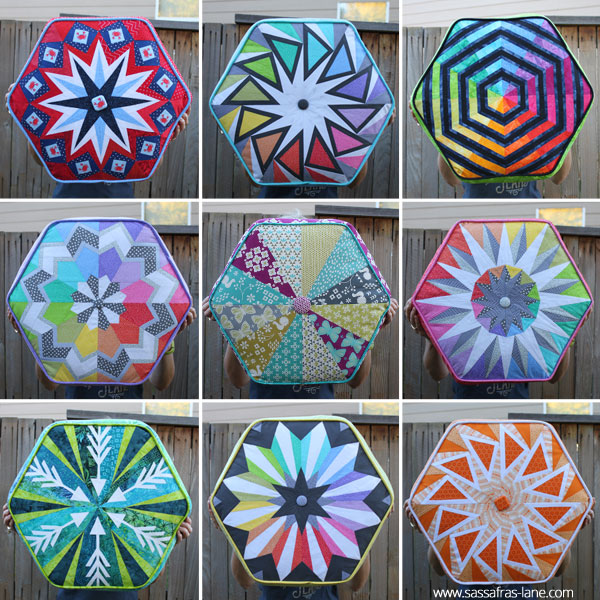
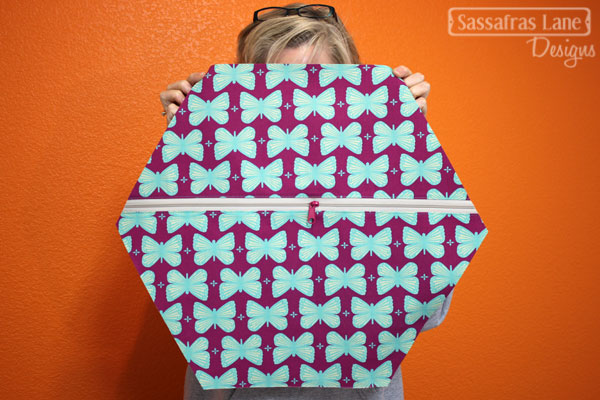
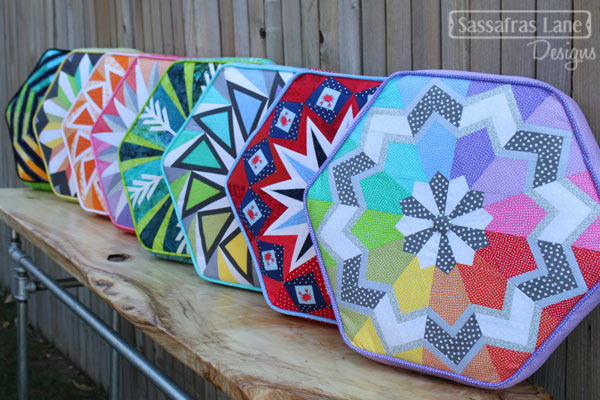
Right before Quilt Market, the great girls over at Dear Stella asked us to make a few pillows to show off the blocks of our Arcadia Avenue pattern. We decided to make some 3D hexagon pillows. We made a total of 11 extra blocks that we turned into pillows! (We only had 8 here to photograph) And, boy did we fall in love with them! It was the perfect way to show different ways of coloring the blocks and a whole different project to make with the Arcadia Avenue pattern. They were a hit at Quilt Market, so we had to hurry home to write a tutorial on how we made them! So, here we go!
To make these pillows you need the Arcadia Avenue book. For this tutorial, we used the “Half Triangle Templates” for the pillow front, instead of a paper-pieced block.
Materials Needed:
- 1 Block from Arcadia Avenue
- 2 yards of fusible interfacing at 20” wide
- 1 zipper 22” or longer
- 4 yards of 1/4” cording
- 2/3 yard for backing and sides
- Fabric to create 132” of bias strips 2” wide
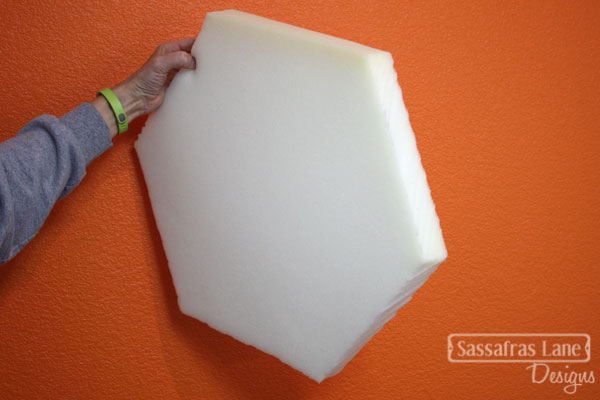
- 2” wide foam at least 18” x 21” (we found ours at Joanns)
- High loft poly batting
- Freezer paper
- Optional: Large coverable button & Fishing line or floss
Making the Back:
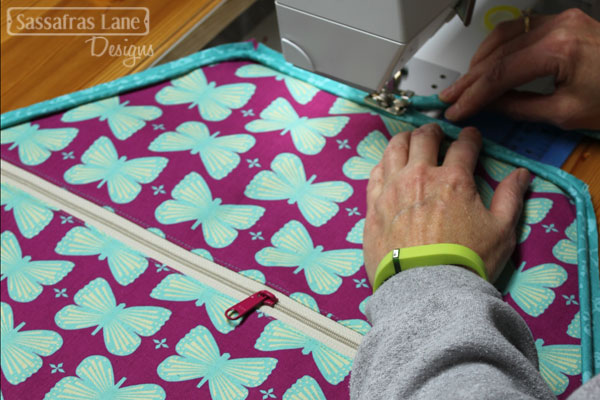
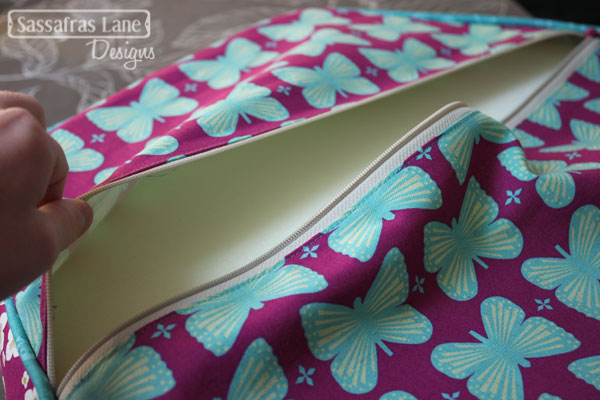
Fuse the interfacing to the wrong side of the back and side fabric. Cut 1 piece 10 ½” x 22”, 1 piece 9 ½” x 22” and 6 pieces 3 ½” x 11” (save for pillow sides). Sew the 10 ½” x 22” piece to the zipper, right sides together, moving the zipper head out of the way as needed.

Press the seam away from zipper. Beware that the nylon zipper will melt - covering your zipper with a pressing cloth or piece of fabric will protect it.
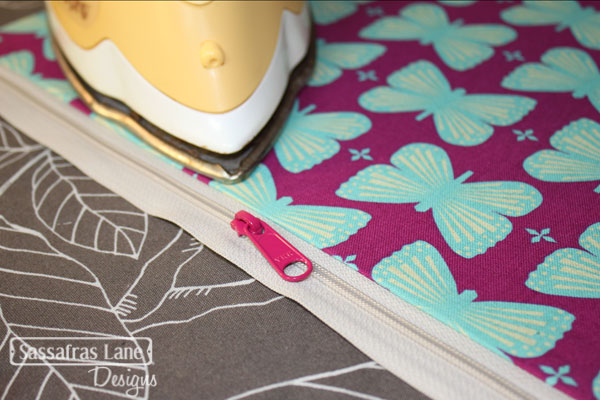
Sew the 9 ½” x 22” piece along the other side of the zipper, moving the zipper head as need. Press the seam away from the zipper.
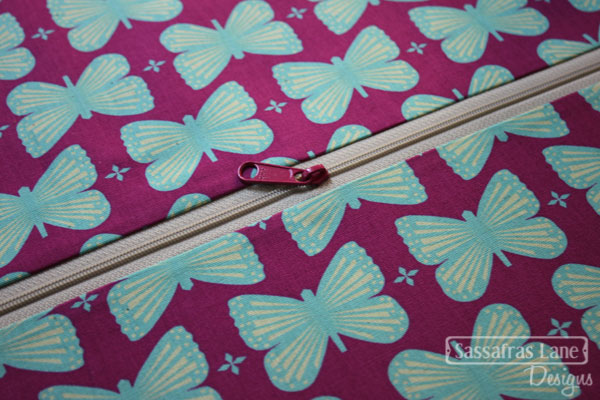
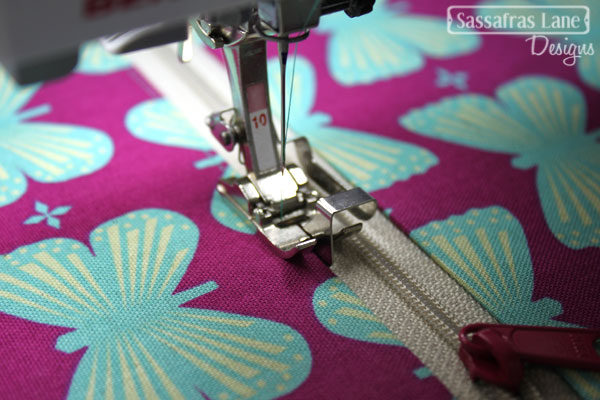
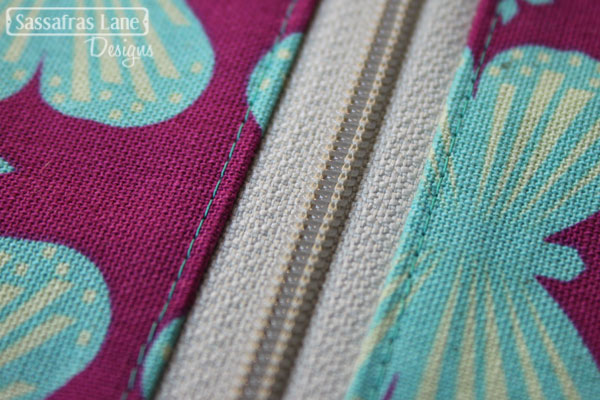
Top stitch close to the edge on each side of the zipper.
Make a freezer paper hexagon template the same size as your Arcadia Avenue block. Lay the template on the pillow back with the hexagon points below the zipper. Iron the template onto the back, shiny side down avoiding the zipper.
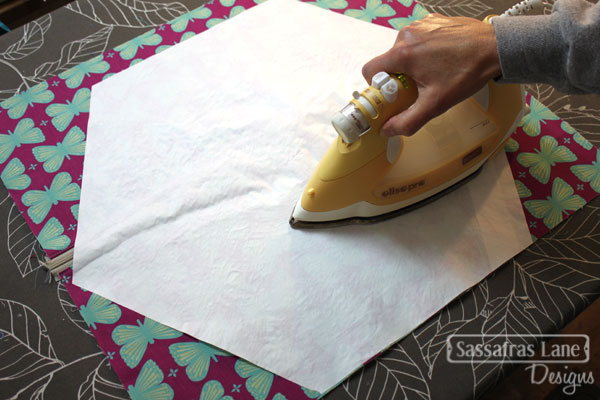
Trim the pillow back to the same size as the hexagon template.
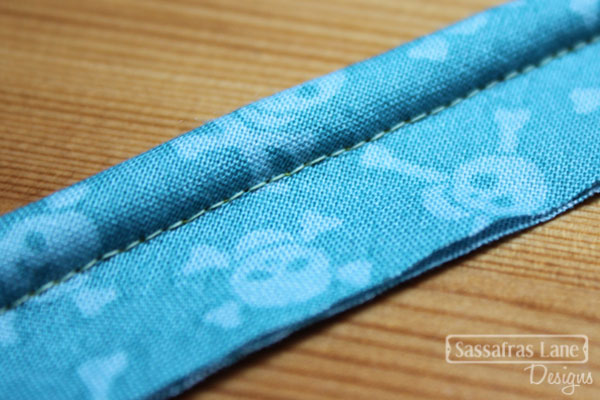
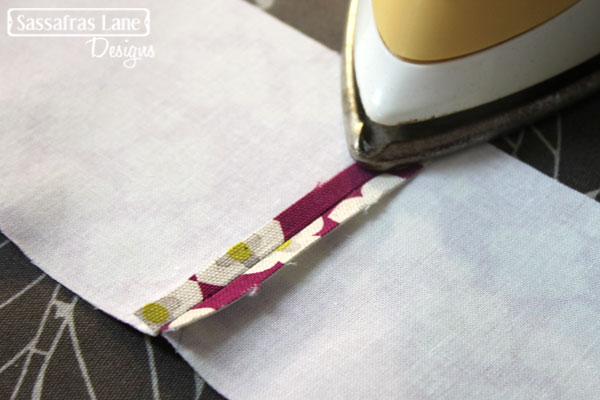
Making the Piping:
Refer to our "Sewology Saturday - Making Piping" tutorial to make the piping.
Adding the Piping:
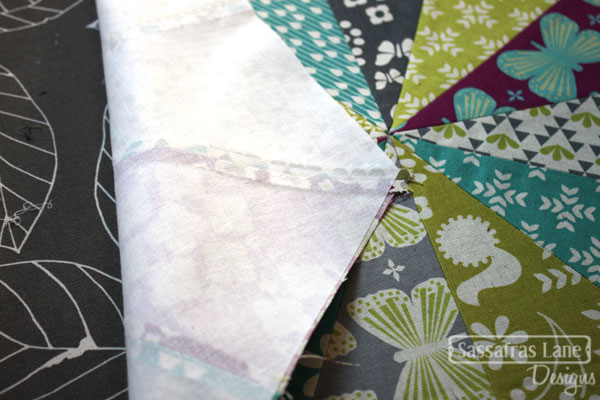
Using the freezer paper template, cut out a fusible interfacing hexagon. Fuse to the wrong side of the pillow front (your block).
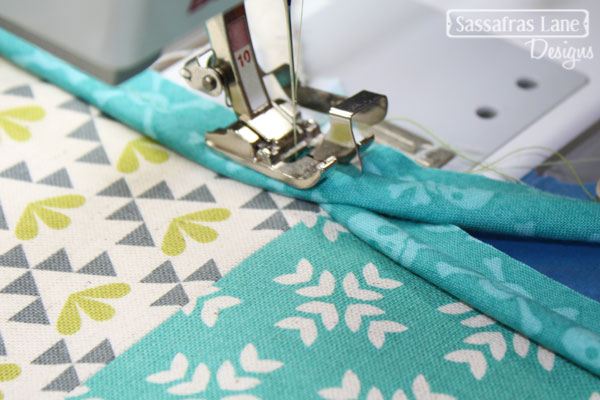
Starting the in the middle of a hexagon side with the end of the piping off the edge, sew the piping to the Arcadia Avenue block.
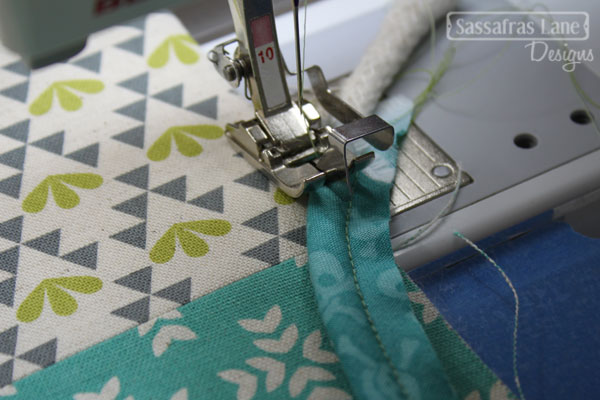
Be sure to keep the raw edges even.
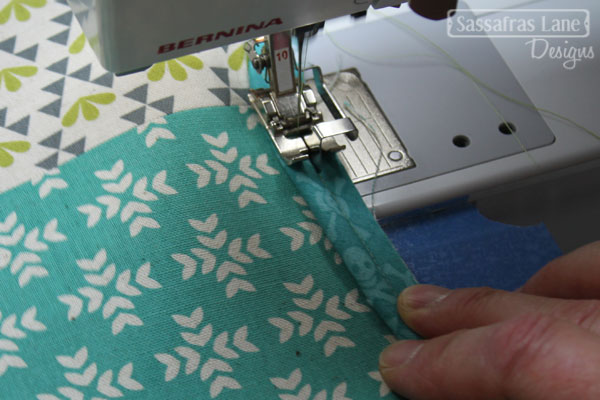
When you reach a corner, stop with your needle down and snip the piping to the stitches. (Don’t cut the stitches!!)

Pivot and continue sewing. (We slightly curved the corners of the hexagons, this made everything go a little smoother!)

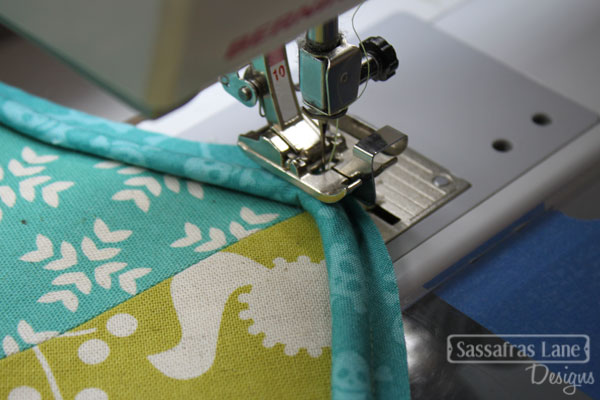
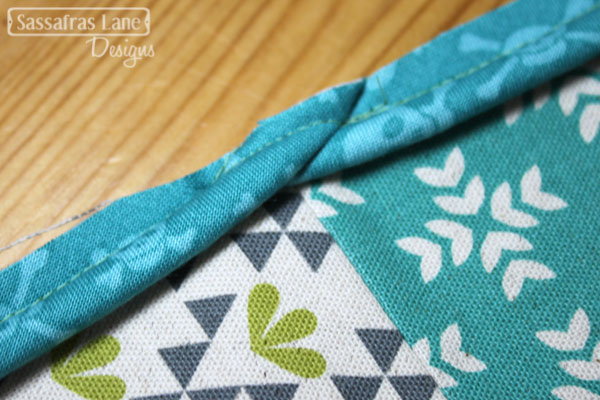
When you have sewn around the entire pillow, overlap the piping ends (see photo) and sew straight over the piping to secure it.
Trim off the excess piping.
Add piping to the back of the pillow in the same manner.
Making the sides:
Sew the pillow side pieces together along the short ends, stopping ¼” from each end. Back stitch at each end.
Sew all 6 pieces together to create a loop.
Iron the seams open.
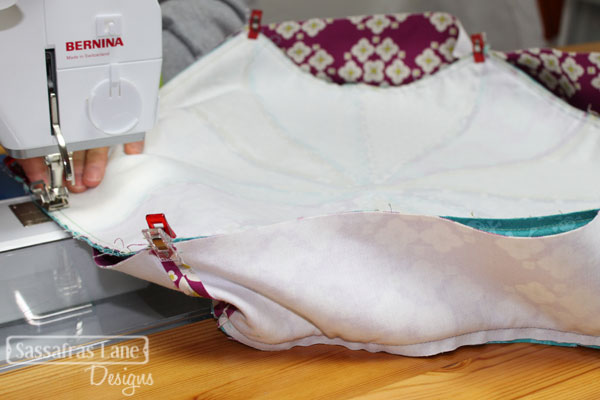
Pin (or clip) the pillow sides to the block right sides together, lining up the seams of the sides with the hexagon corners.
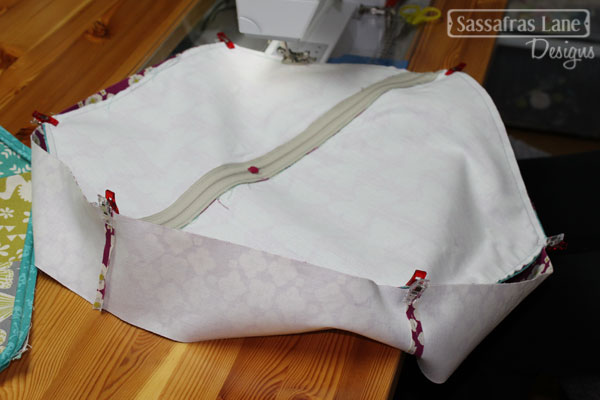
Sew together with the block on top, sewing along the stitching line formed from adding the piping. Pin the back of the pillow to the sides, lining up the hexagon corners with the side seams. Sew with the pillow back on top, moving the front of the pillow out of the way.
You now have your pillow!

Stuffing the Pillow:
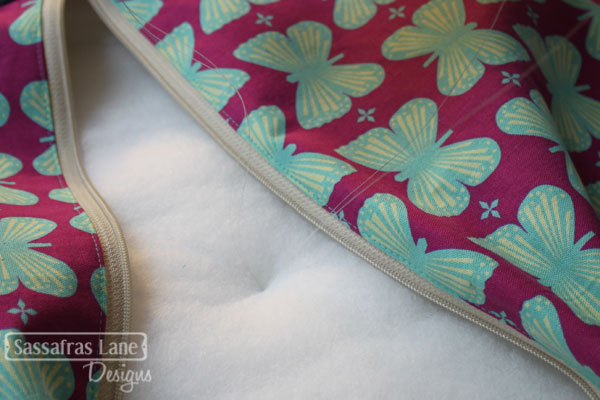
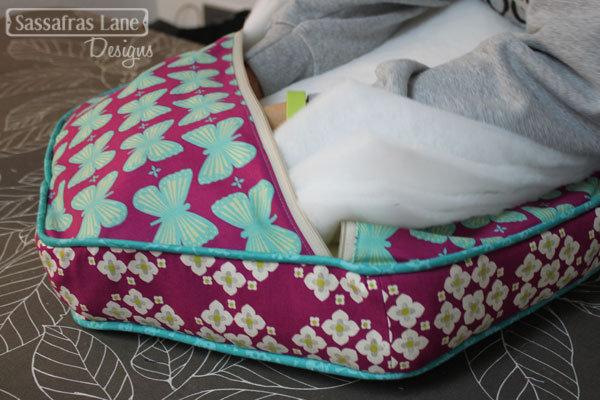
Flip the pillow right sides out through the zippered back. Push out the corners and the piping until they look good. Make another hexagon freezer paper template ¼” smaller all the way around than the previous one. Using this new template, cut out 12 layers of batting. Layer 6 batting pieces into the pillow along the front. If you are not adding a button, skip to the foam instructions. Using the fishing line or floss, add your button to the front of the pillow stitching through the layers of batting.

Secure the button with a few knots.
Using the new freezer paper template, carve your 2” thick foam into a hexagon using a bread knife or an electric knife.
Push the foam through the top half of the pillow.

Roll the foam and shove it into the bottom half.
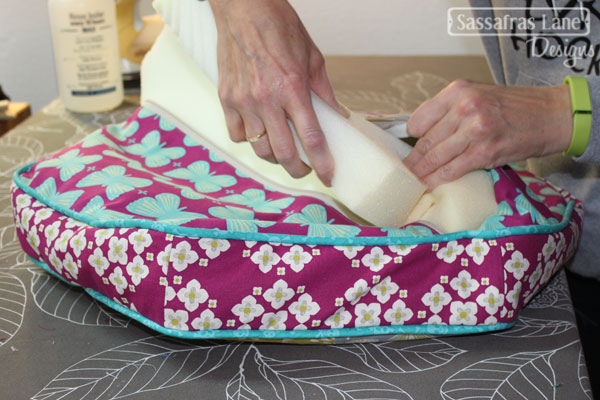
You may need to adjust and move the foam around to get it centered. The batting sticks to it though, so be patient!
Once the foam is in a good place, layer the last 6 pieces of batting into the back of the pillow.
Close the zipper and Voila! You may find easier ways of stuffing the pillows, this is just what worked best for us! We would love to see the pillows you make, so please send us photos when you get them made up!
Beware... these pillows are additive! You may end up with a whole pile like we did!

Well that's all folks! It was a long post, but hopefully a helpful one! We can't wait to see your Arcadia Avenue quilts and pillows. Don't forget, we will be hosting a Quilt Along in January if you want to join us!

Comments
Denniele said:
Perfect! They were stunning at market! Thank you
Kathy said:
Stunning! Can’t wait to make one! I’m not familiar with zippers, what zipper did you use? Looks like you cut the ends of the zipper? Thanks very much!
Ramona Chester said:
Thank you for such wonderfully clear directions. I never thought of the six layers of batting but that does give a professional finish. Now I have to go and order your great book!
Judy Howell said:
The pillows are Fantastic! And the tutatorial is great.
sandy miller said:
Love these!! what do you mean half triangle blocks? from the book I have made 2 paper pieced blocks already and would love to make the pillows.
sandy miller said:
Sorry about my question this am I figured it out, I guess I had brain fog this
morning Thank you!!
Pauline Williams said:
These cusions are lovely I will have a go
Thank you for the tutorial
Pauline
Anna said:
I could not sleep this night thinking of how to sew hexagon pillow. And tadamn!!! Here it is – your great tutorial!
Thank you :) Arcadia Avenue block is finishing now…..
Ann said:
Such lovely pillows. I took a class on making your blocks and wanted to make pillows, just found your tutorial. Thank you so much.
Gale Watkins said:
This is a great idea I love it will try
ROSAURA MORALES HERNANDEZ said:
Precioso y parece fácil. Gracias lo voy a hacer asi.
Natalie said:
Did you use a two way zipper?